Introduction to arduino IDE software
Arduino IDE software is an IDE that is used as a coding environment for an arduino board. In a previous post, we focused more on the physical component and how to use the board in a circuit.
The arduino IDE software serves as a development environment where all the code for the circuit is written and saved into the arduino board. Arduino utilizes C++ as a programming language. Basic knowledge of C++ is needed to program an arduino.
The basic requirements to be able to program an arduino include a USB cord (comes together with the board check here) to connect the board to a laptop or PC and the arduino IDE software installed on the PC or laptop.
How to install arduino IDE software
Installing arduino IDE software is similar to installing other programs on your computer. The first thing to do is to download the software from the arduino official page. The software has different versions for various operating systems including Windows, Linux, and MacOS. The software works with any arduino board.

After you have selected and downloaded the appropriate software for your computer, the next thing is to begin the installation process. The steps I would be following are for installation on Windows Operating system. Although the installation process would be similar for all operating systems.
After downloading the package from the official website. Proceed to your file explorer where the application file is located.

Click on the file and proceed to accept the terms and conditions (License agreement).

Proceed to select the option you want on the installation option. Make sure to tick all the checkboxes.

The next step is to select the folder where all the data would be stored. You can leave it on default as it is.

Once you are done, click the Install button to begin the installation process. After clicking the install button, a new pop-up appears. It displays the installation progress.

When the installation is almost done, some pop-up will display requesting permission to install some drivers all you have to do is click the install button on each pop-up that appears.

Shortly after installing the drivers, the installation process would be done. After that, you close the installation progress dialog box and proceed to open the app.
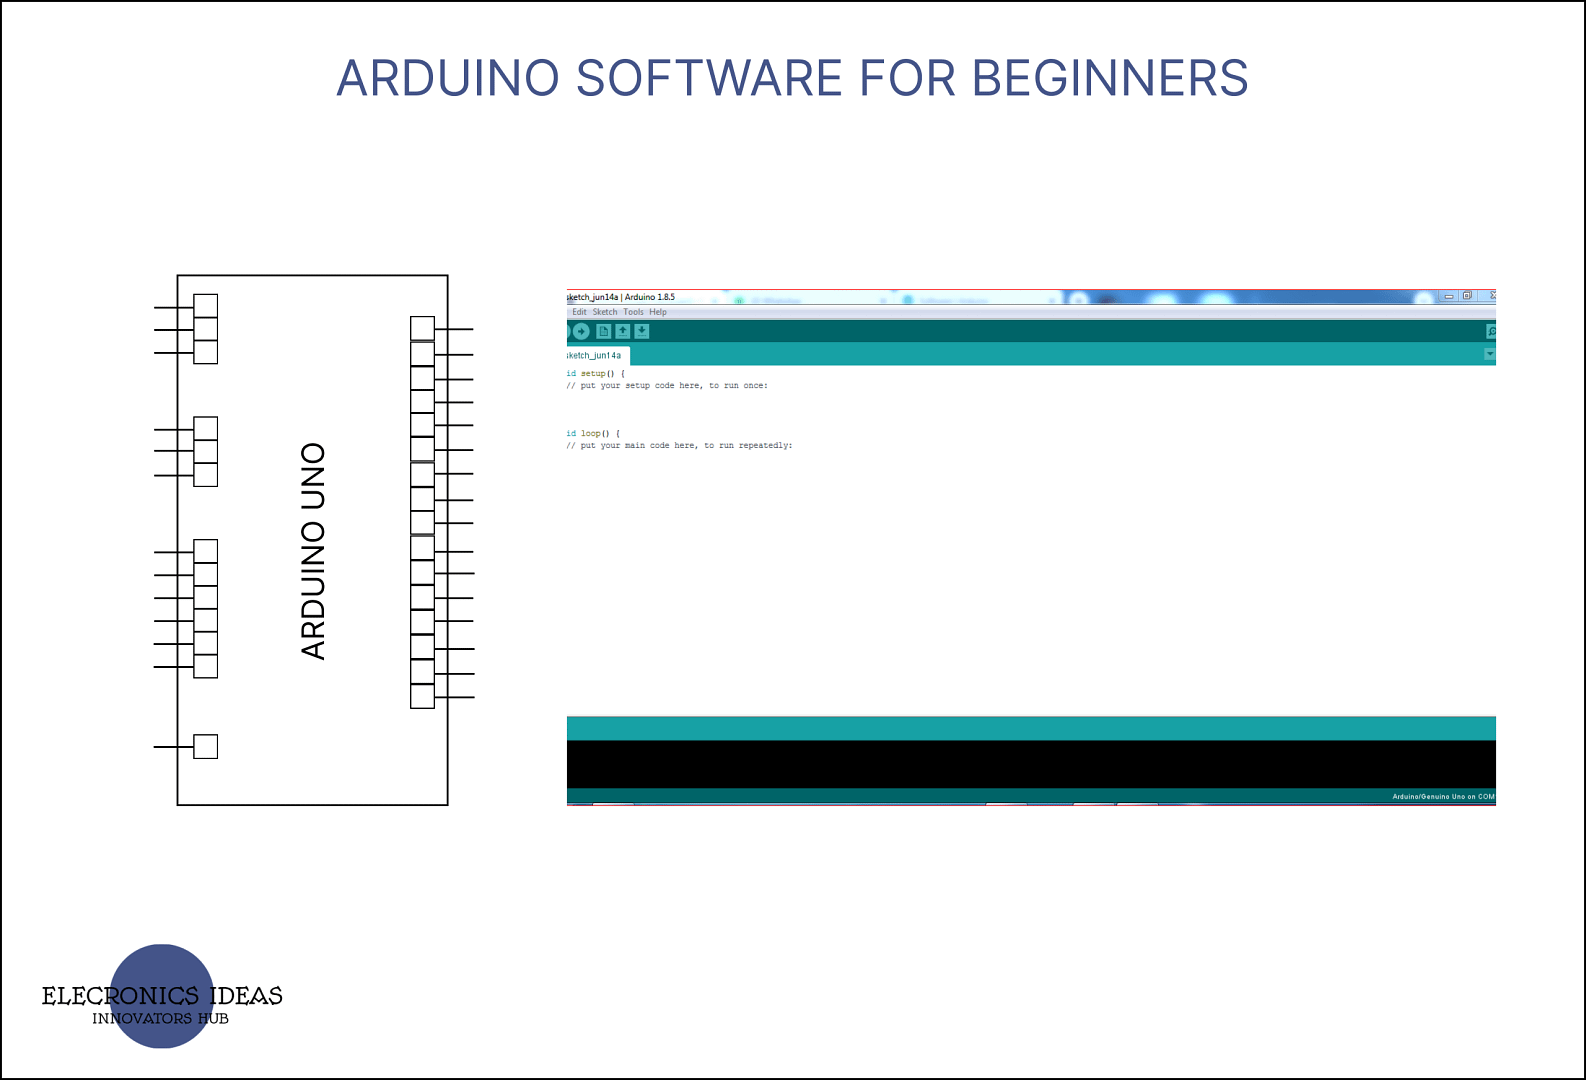
Here is a view of what appears when you launch the app.

Understanding the Arduino IDE software environment
Using the software is like using any other IDE (Integrated Development Environment), Arduino code is written in C++. To write your code, they are some things you have to determine first based on the circuit you plan on designing. For example, if you are planning on using some components such as a servo motor, an LCD, or a matric keypad you have to first of all import the associated library.
To import the associated library for the circuit all you have to do is write the following before the void setup #include <library to be imported>. Let’s say we are using a matrix keypad in our circuit we would import the library by writing #include <keypad.h>. For more context view the code below.
#include <keypad.h> // this imports the library for the matrix keypad

void setup(){


}

void loop(){

}
After importing the library, the next best practice is to name the variable to be used in the code. These variables include the names assigned to each pin of the arduino that is to be used while writing the code for your circuit. This makes it easier to remember and can be easily understood by anyone that goes through your code. View the code below for a clearer view.
// a code sample on how to declare variables

int light = 3; //Pin 3 is renamed as light such that instead of calling 3, we just have to us light which is more logical

int signal = 12; //pin 12 is renamed signal. So signal can be used through out the whole code

void setup(){


}

void loop(){

}
void setup( ){ } is used to assign what each variable is supposed to do. That is, a variable can be assigned as an output or an input. View the sample code below.
// the example here is make of just a button and an LED

int light = 3;
int signal = 12;


void setup(){
  pinMode(light,OUTPUT); //this sets pin 3 which is named light as the output of the circuit

  pinMode(signal,INPUT); // This sets pin 12 which is named signal as the input of the circuit

}

void loop(){

}
Looking at the above code you would notice pinMode. It is used to select a particular pin and set it to either output or input. When stating if a pin is for output or input both OUTPUT and INPUT have to be written in uppercase. If you intend to use the serial interface for easy code debugging. You can add Serial.begin(9600) to the void setup().
// the example here is make of just a button and an LED

int light = 3;
int signal = 12;


void setup(){
  pinMode(light,OUTPUT); //this sets pin 3 which is named light as the output of the circuit

  pinMode(signal,INPUT); // This sets pin 12 which is named signal as the input of the circuit

  Serial.begin(9600); // activates the serial interface
}

void loop(){

}
The last portion of which is void loop( ){ } is used to define how the whole circuit is to operate. View the sample code below.
// a code sample on how to declare variables

int light = 3; //Pin 3 is renamed as light such that instead of calling 3, we just have to us light which is more logical

int signal = 12; //pin 12 is renamed signal. So signal can be used through out the whole code

int signalState;

void setup(){
  pinMode(light,OUTPUT); //this sets pin 3 which is named light as the output of the circuit

  pinMode(signal,INPUT); // This sets pin 12 which is named signal as the input of the circuit

  Serial.begin(9600); // activates the serial interface
}

void loop(){
signalState=digitalRead(signal); // the arduino reads the sate of the pin 12 which is signal and assign the state (either high or low) to signalState

  if(signalState==HIGH){

    digitalWrite(light,HIGH); //the arduino assigns high to the pin 3 which is named light.

  }
  else{
    digitalWrite(light,LOW); //the arduino assigns low to the pin 3 which is named light.

  }

}
The arduino IDE software has digitalRead,digitalWrite, analogRead, analogWrite, and pinMode by default in its library and can be used in the code without importing any library.
RELATED POST


3 thoughts on “A complete guide to Arduino IDE (software) for beginners”