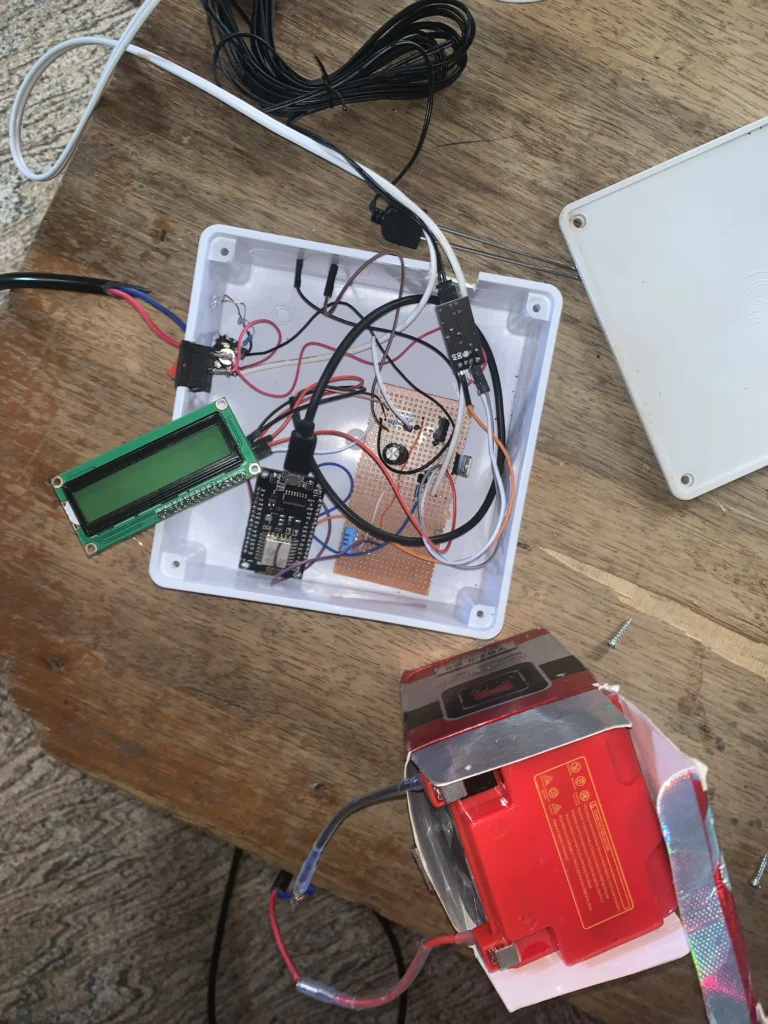
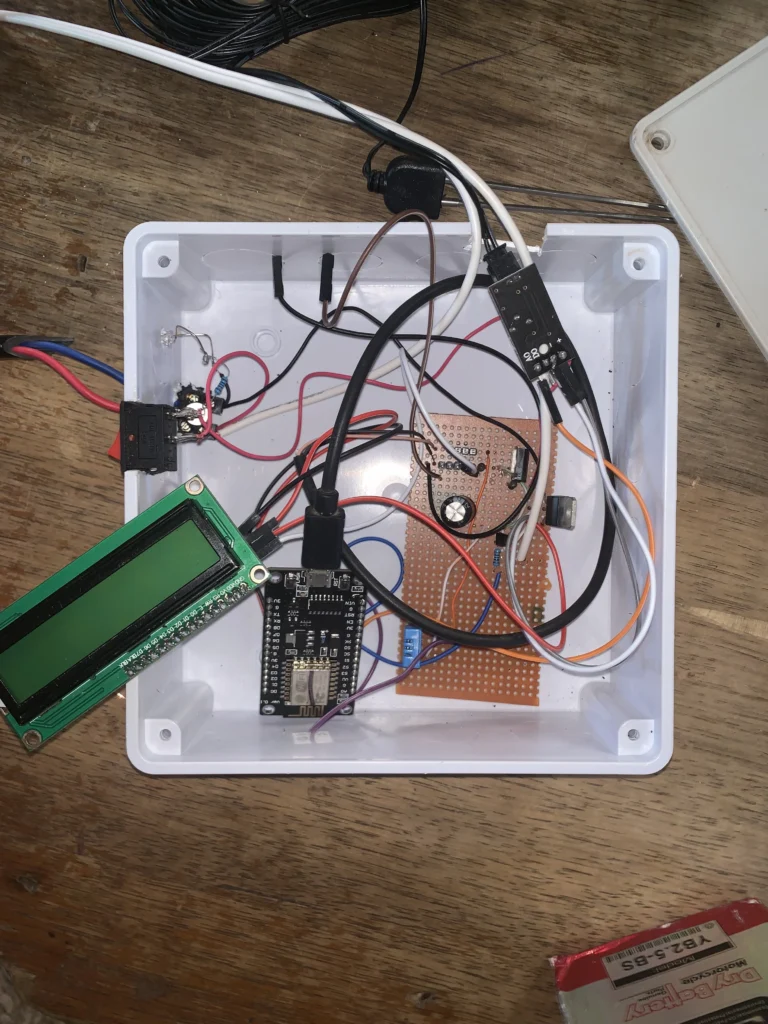
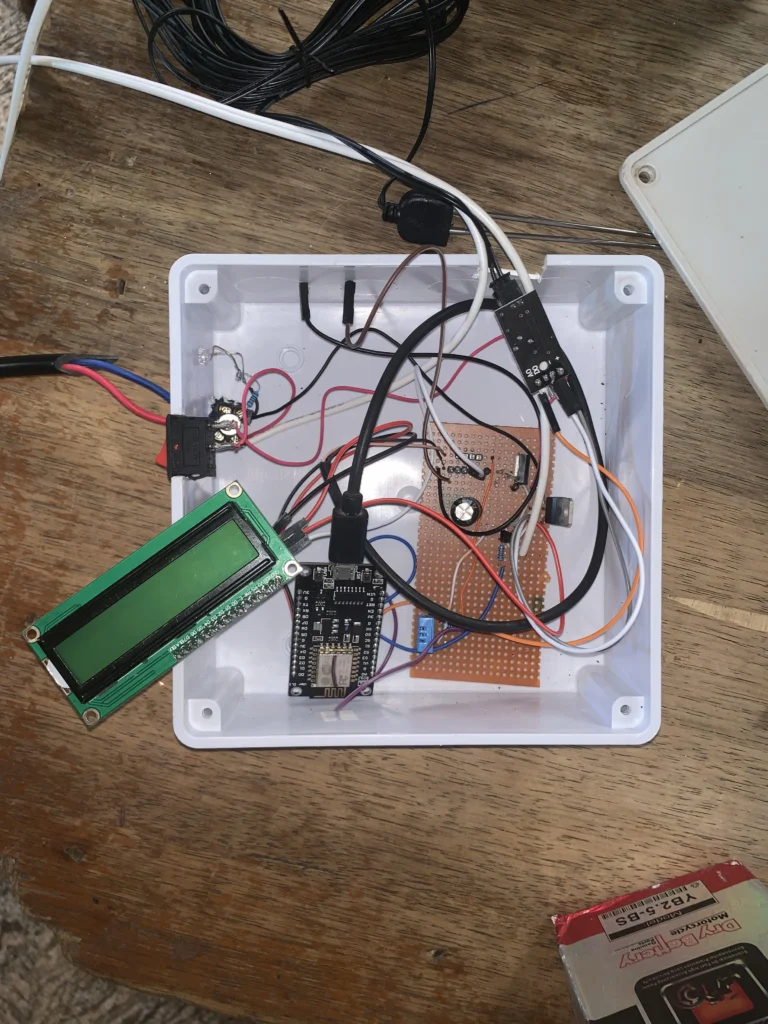
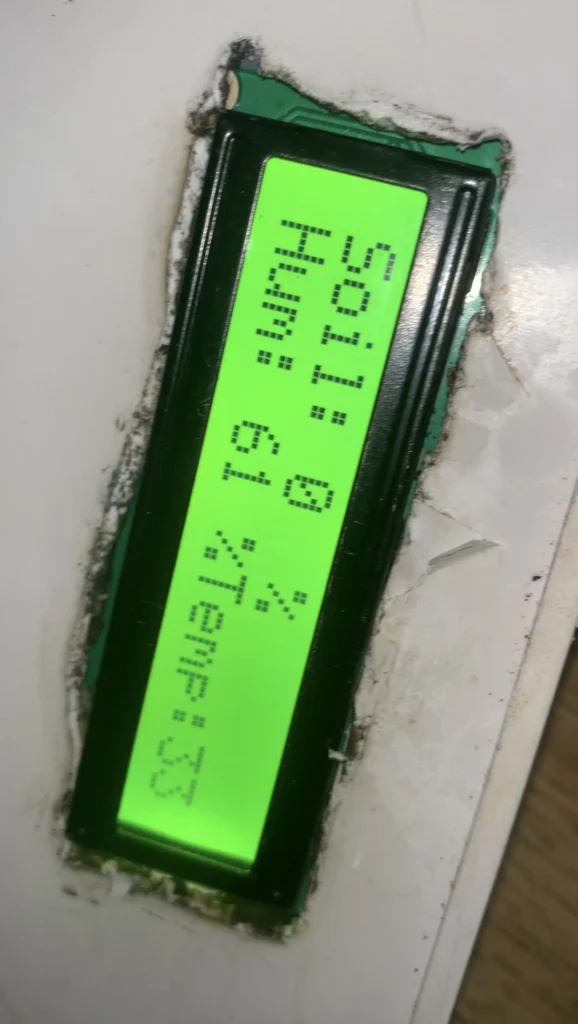
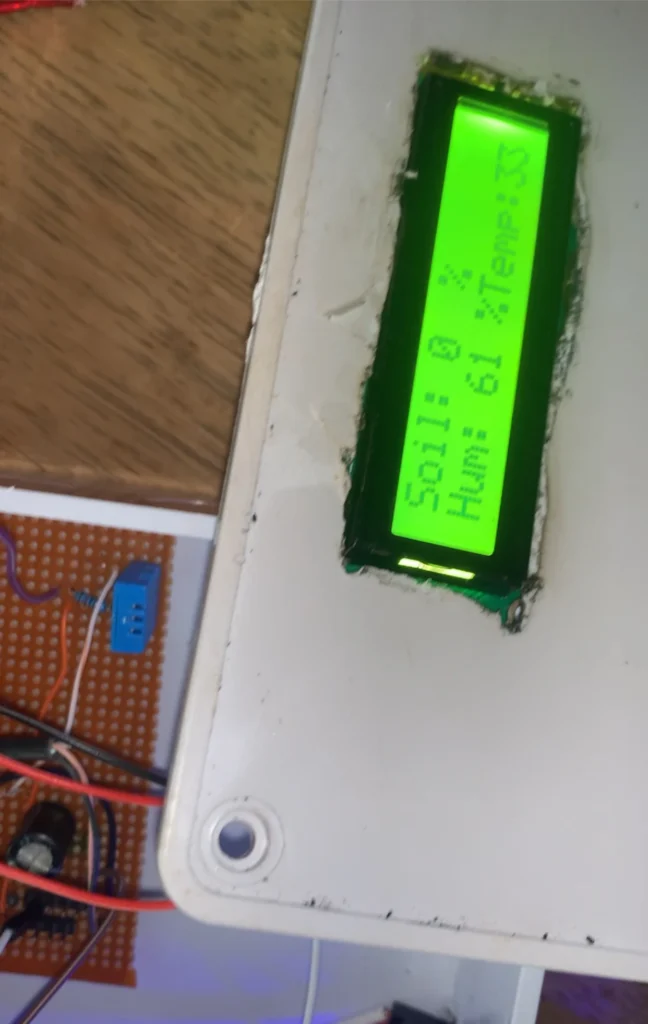
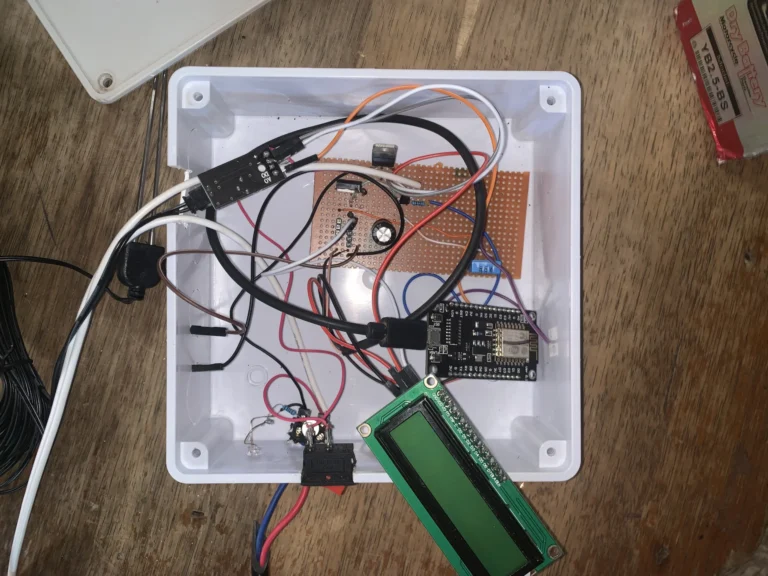
DHT11 is a four(4) pin sensor for measuring temperature and humidity. This sensor is cheap, small, and reliable for temperature and humidity projects. The DHT 11 works well with all microcontrollers for Arduino to ESPs. This post will review how to use this sensor in projects.
How to add the DHT 11 library in Arduino IDE
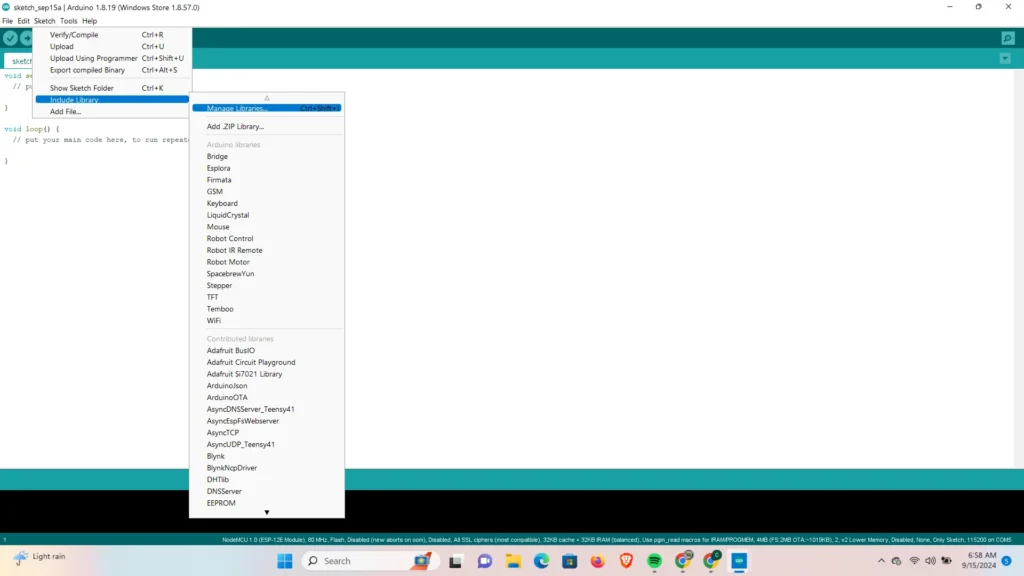
Navigate to sketch in your Arduino IDE scroll to include library>manage Libraries (ctrl + shift + I)
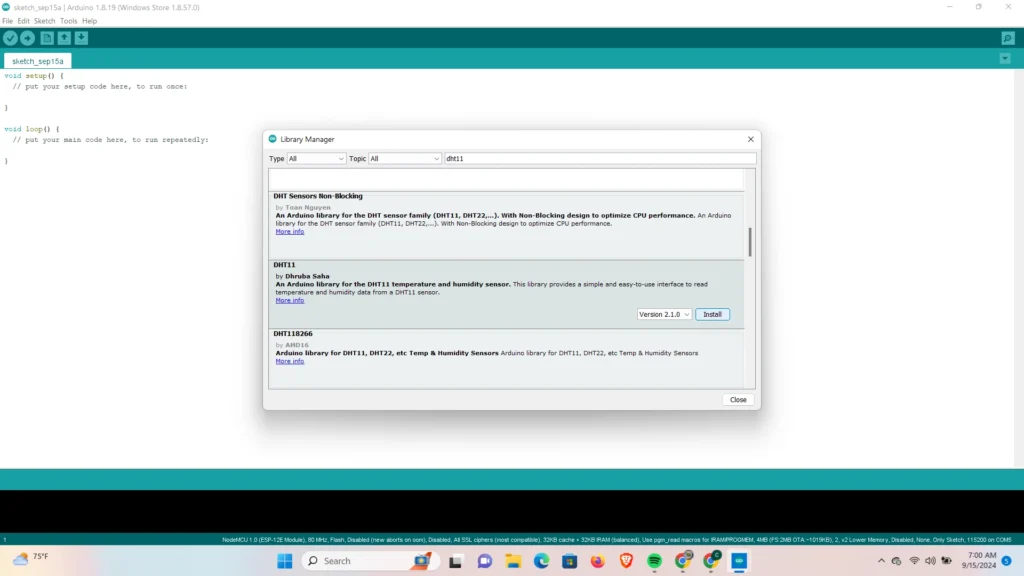
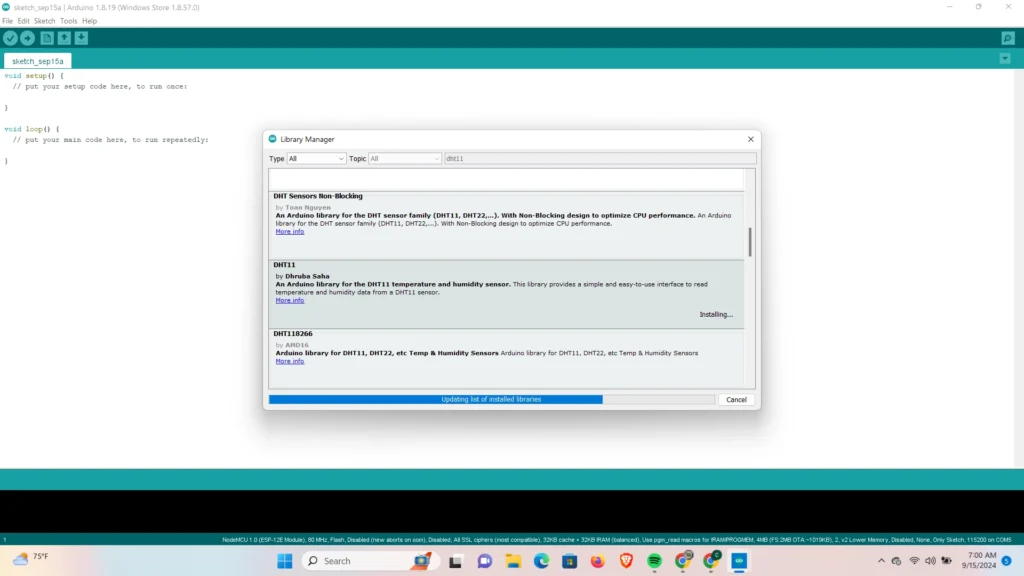
Search for DHT 11 and install the library by Dhruba Saha
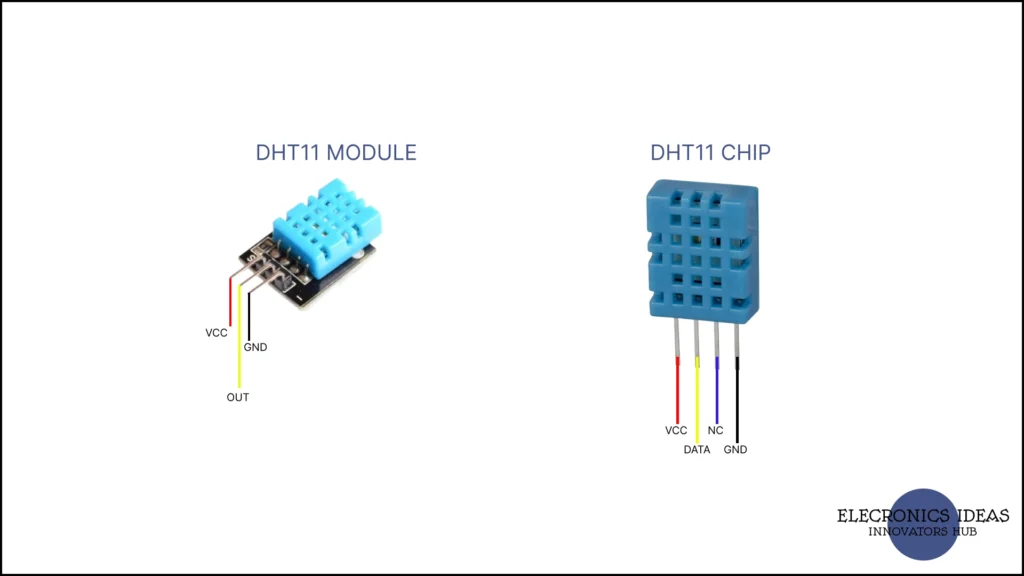
DHT 11 pinouts
Setting up the DHT 11
The DHT 11 has two variants, the DHT 11 module and the DHT 11 chip. The physical difference between them is that the chip has four pins and the module has three. The DHT 11 module features an onboard 10k ohms resistor that connects the data pin(2) and Vcc so you don’t have to add an external resistor. But if you are to use the chip you will have to attach an external resistor either a 10k ohms or 5kohms will do.
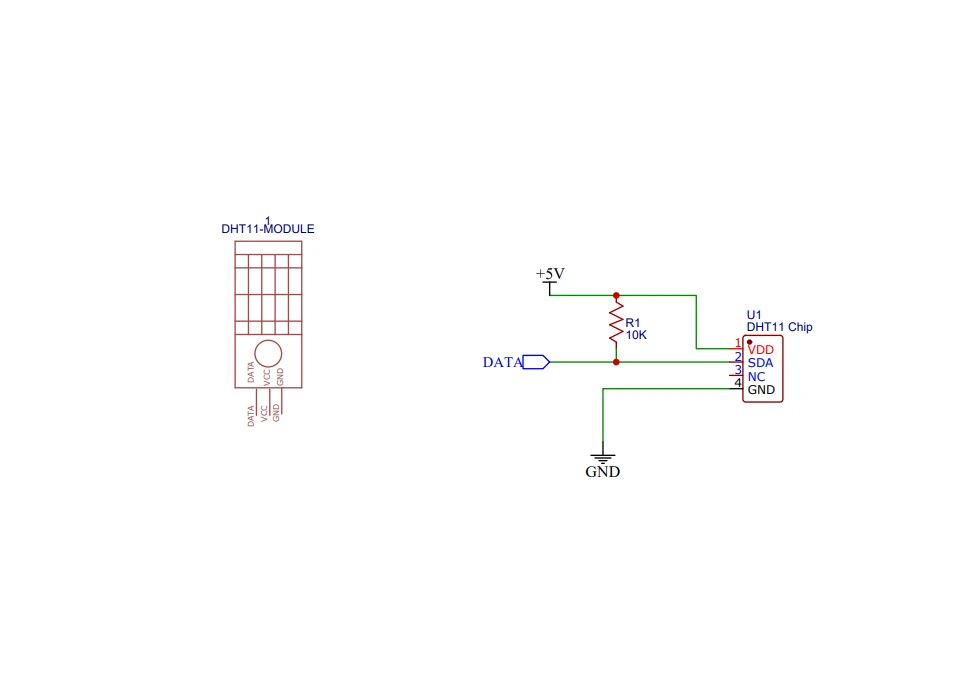
Interfacing DHT 11 with microcontrollers
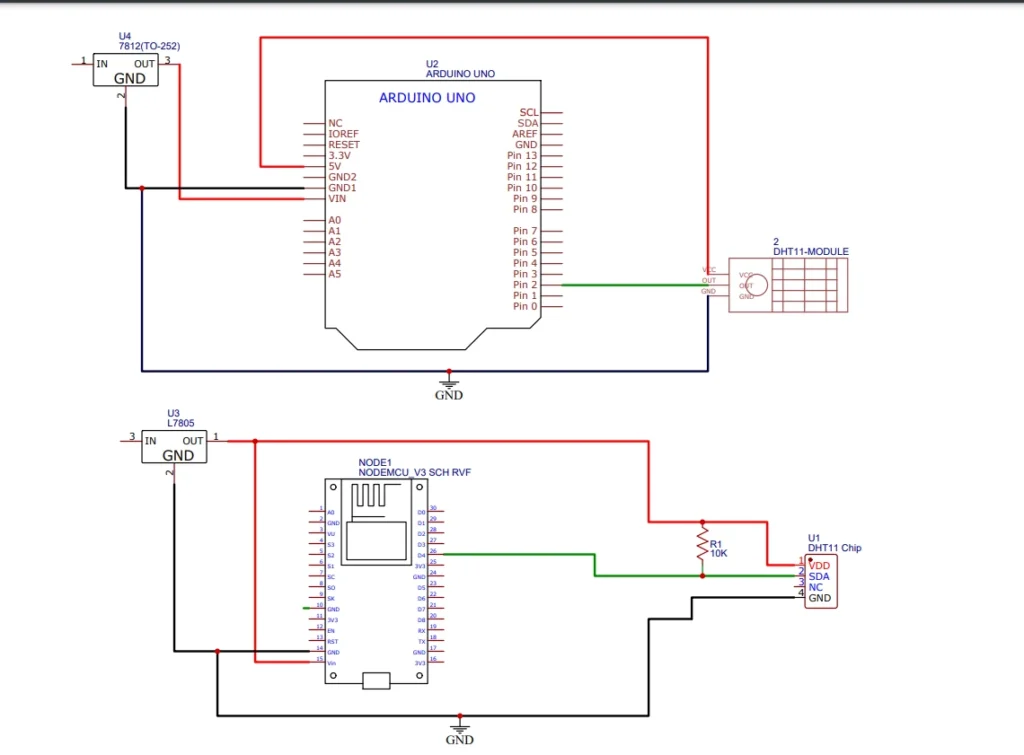
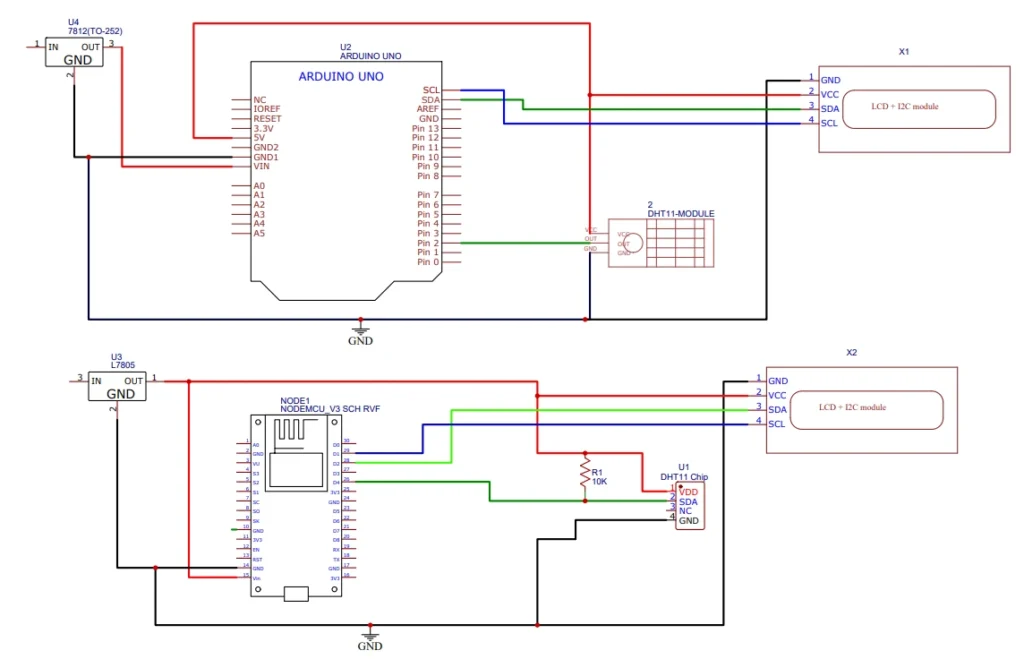
In this example, we will use an Arduino Uno R3 and an ESP8266. First, we will make a system that displays the humidity and temperature readings on a serial monitor. Then, we will make the system display the reading on an LCD.
Circuit Diagram
#include <DHT11.h>

DHT11 dht(2);

int hum;
int temp;

void setup() {
  //comment out the board you are not using

  Serial.begin(9600);//for Arduino Uno
  Serial.begin(115200);//for ESP8266

}

void loop() {

  hum = dht.readHumidity();
  temp = dht.readTemperature();
  Serial.print(hum);
  Serial.println("%");
  Serial.print(temp);
  Serial.println("C");
  delay(2000);

}
The system updates every 2 seconds. You will add a comment to the other line depending on the board you use.
Circuit diagram with an I2C LCD
#include <DHT11.h>
#include <Wire.h>
#include <LiquidCrystal_I2C.h>

DHT11 dht(2);
LiquidCrystal_I2C lcd(0x27, 16, 2);

int hum;
int temp;

void setup() {
  //comment out the board you are not using

  Serial.begin(9600);//for Arduino Uno
 // Serial.begin(115200);//for ESP8266
  lcd.begin(16, 2);
  lcd.init();
  lcd.backlight();
  //Wire.setClock(5000);Remove the comment for ESP8266

}

void loop() {

  hum = dht.readHumidity();
  temp = dht.readTemperature();
  Serial.print(hum);
  Serial.println("%");
  Serial.print(temp);
  Serial.println("C");
  lcd.setCursor(0, 0);
  lcd.print("Hum:");
  lcd.setCursor(5, 0);
  lcd.print(hum);
  lcd.setCursor(8,0);
  lcd.print("%");
  lcd.setCursor(0, 1);
  lcd.print("Temp:");
  lcd.setCursor(6,1);
  lcd.print(temp);
  lcd.setCursor(9,1);
  delay(2000);
  lcd.print("C");
}