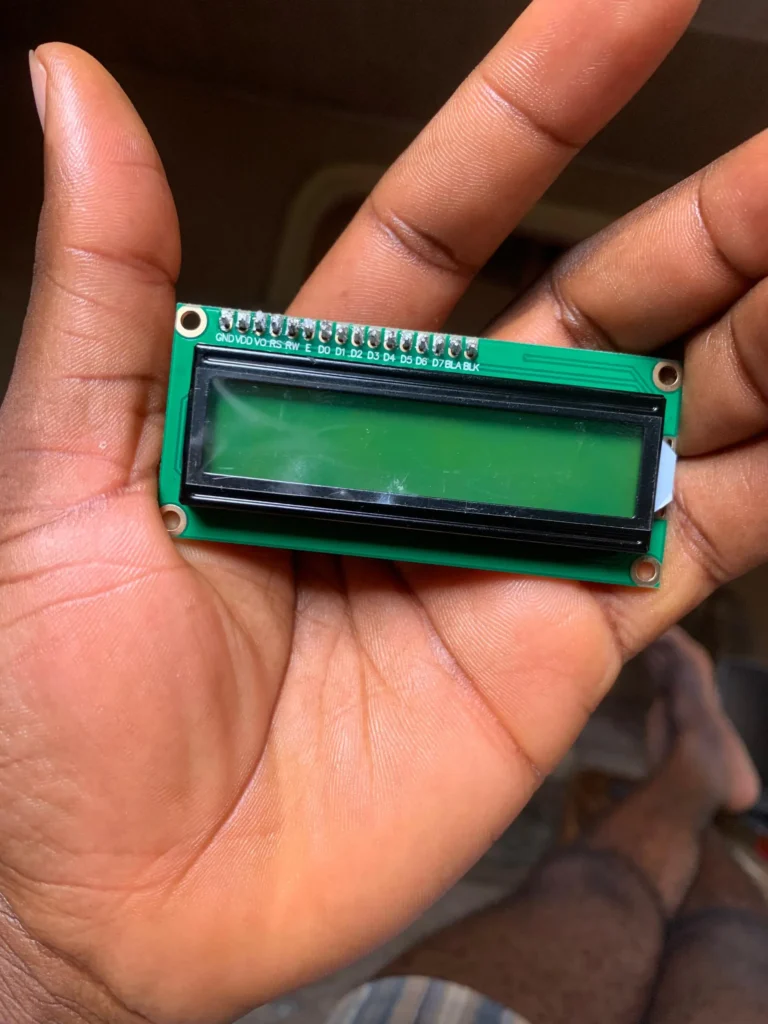
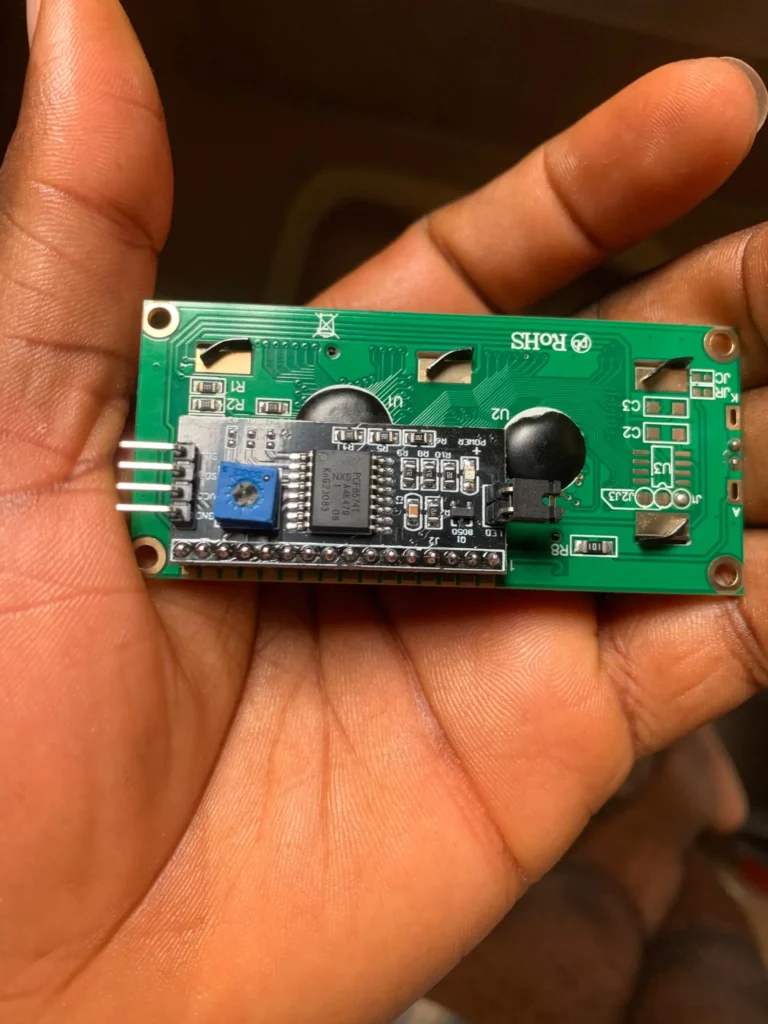
ESP8266 has become a common component for building IOT-capable devices. The I2C display module is a popular I2C technology that makes interfacing devices easier. It stands for Inter-Integrated Circuit. ESP8266’s popularity has made it important to be able to interface Display to it as it is one of the most commonly used microcontrollers. The information to be displayed could be an IP address or data from other sensors connected to the ESP8266.
In this article, we will explore how to interface an I2C LCD with an ESP8266. Using an I2C display module reduces the number of data pins to be used to just 2 data pins.
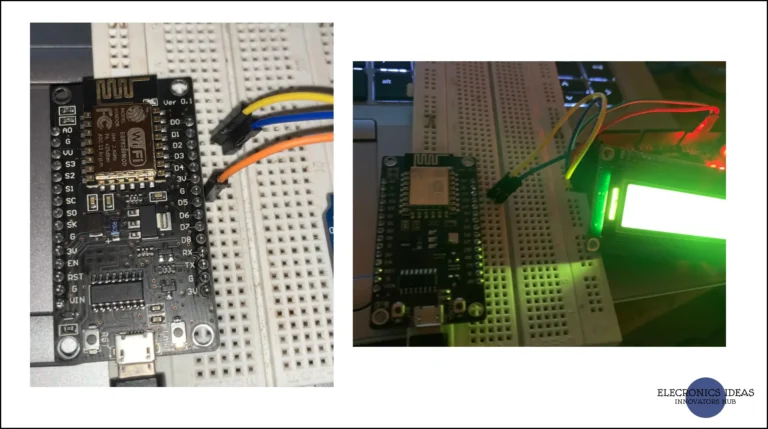
Interfacing the I2C display module with ESp8266
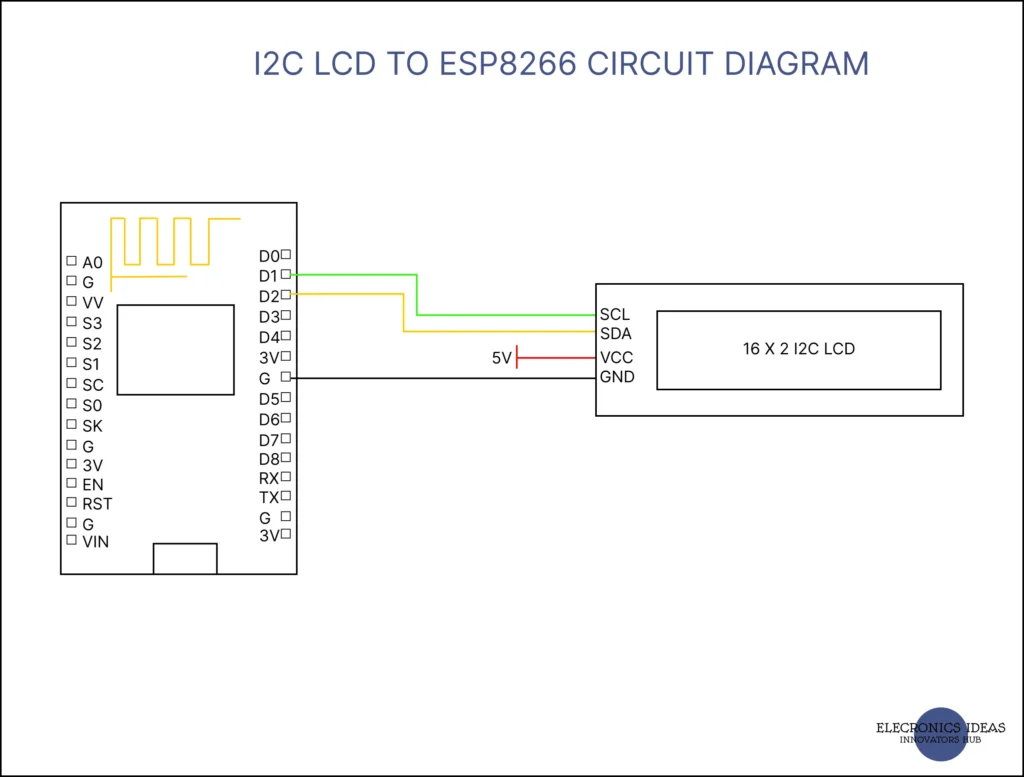
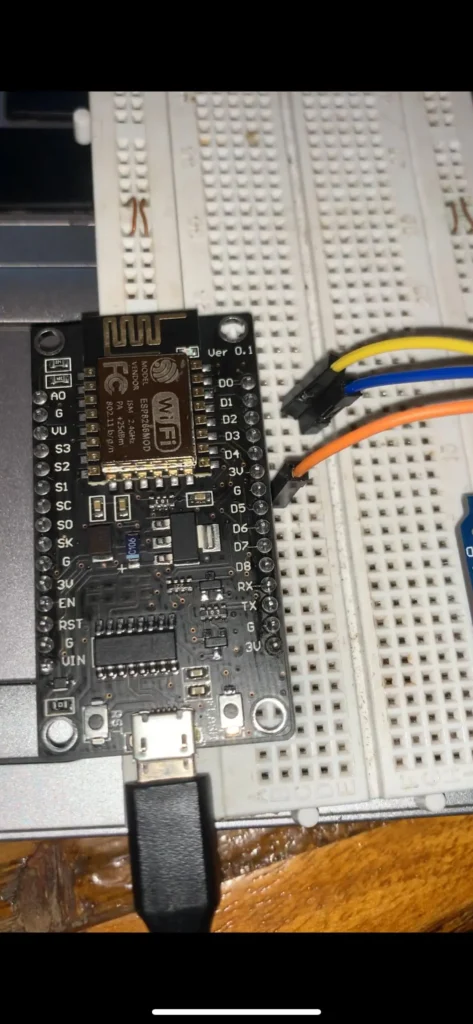
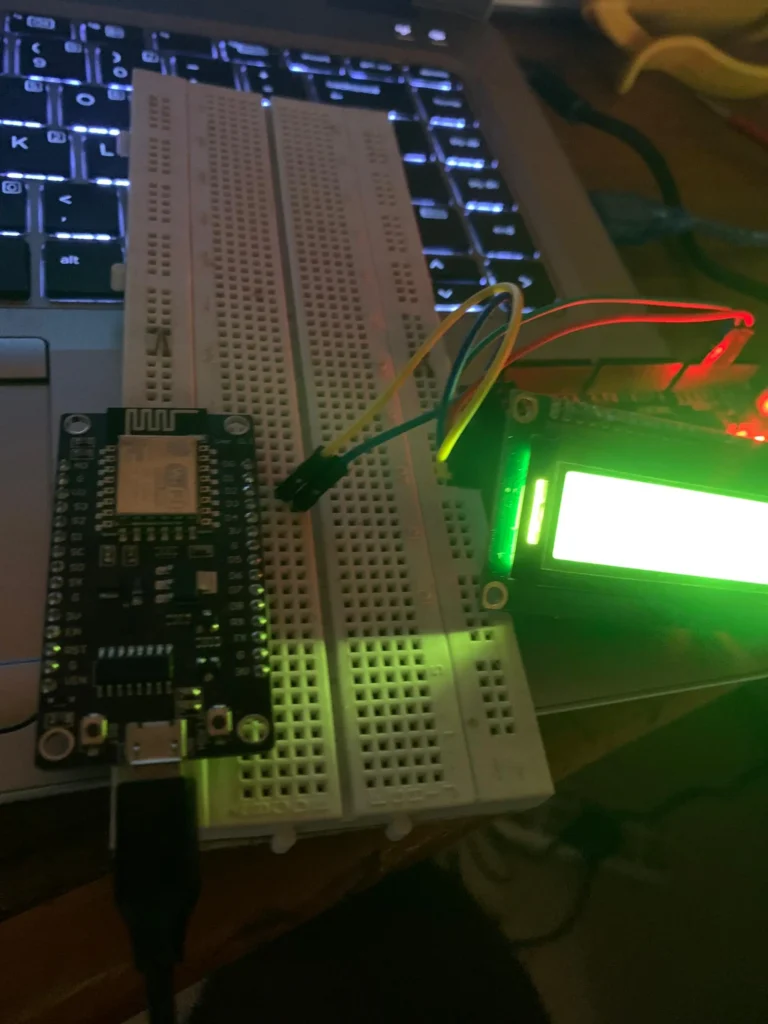
The I2C pins on an ESP8266 are D1(GPIO5) and D2 (GPIO4). The ESP8266 does not have 5v on it so an external 5v power source will be needed to power the LCD. The 3V or 3.3V on the esp8266 can power the LCD but the display will be too dim and may display weird characters on the screen. ensure the ground is connected. That is to say, whatever power source you choose to use should have a common ground with the entire system.
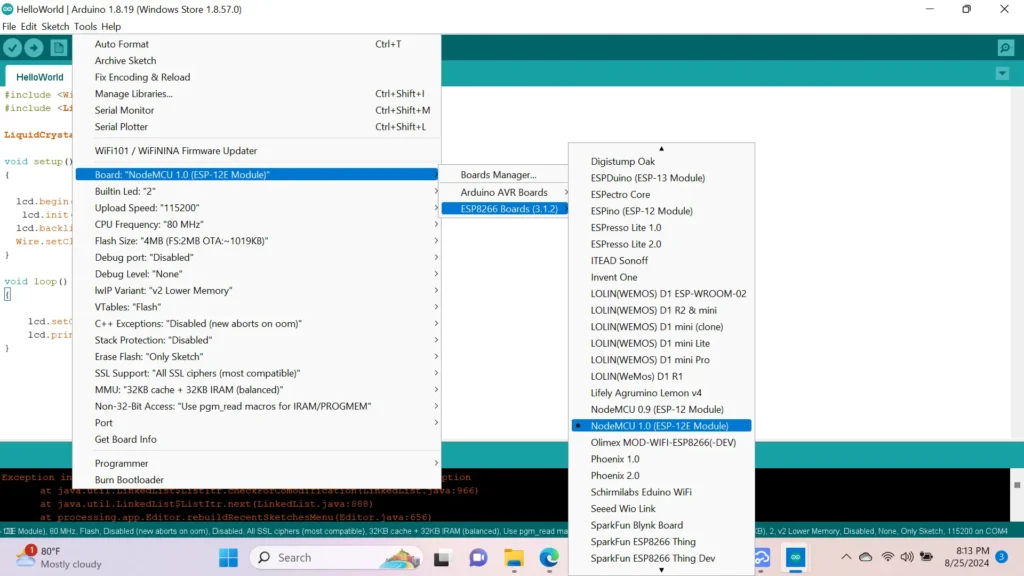
Once the connection is implemented, open your Arduino IDE and make the following adjustments. Select “NodeMCU 1.0 (ESP-12E Module)” under ESP8266 Boards. Note: This option only appears if you have already installed the ESP8266 Board to your IDE. Check this post to get guidance on how to install the board.
Add the LiquidCrystal I2C Library by Marco Schwartz Library.
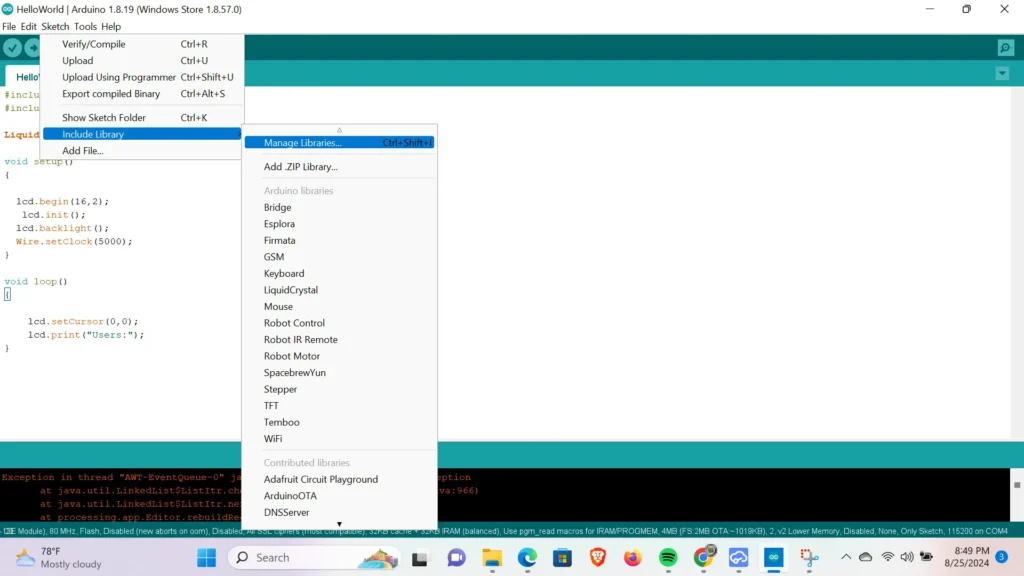
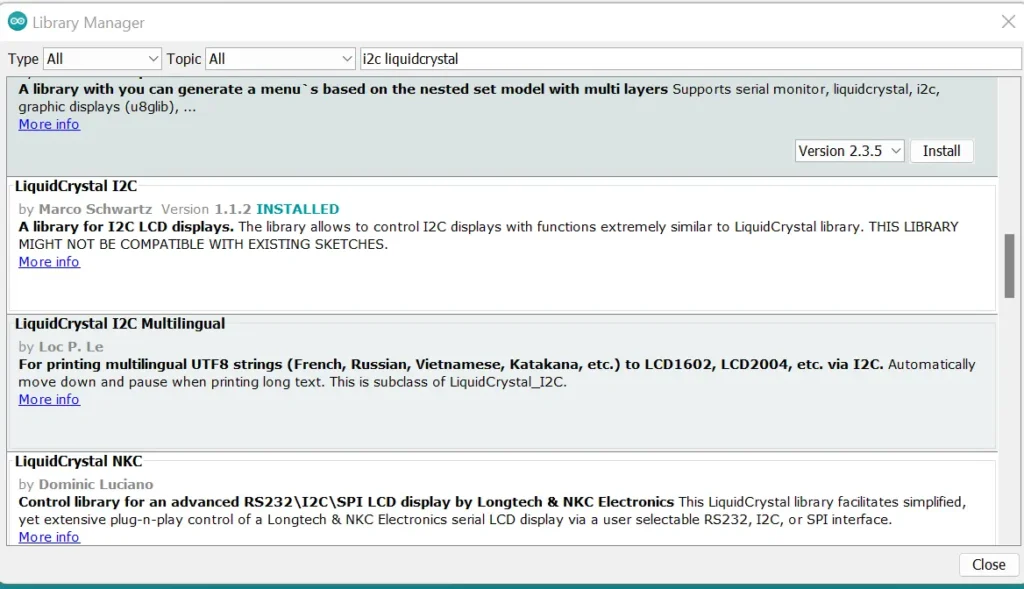
Once the above steps are done, you can proceed to add the code. We have added a simple code below, edit it to fit your needs.
#include <Wire.h>
#include <LiquidCrystal_I2C.h>

LiquidCrystal_I2C lcd(0x27, 16, 2);

void setup()
{

  lcd.begin(16,2);
   lcd.init();
  lcd.backlight();
  Wire.setClock(5000);
}

void loop()
{

    lcd.setCursor(0,0);
    lcd.print("Users:");
}
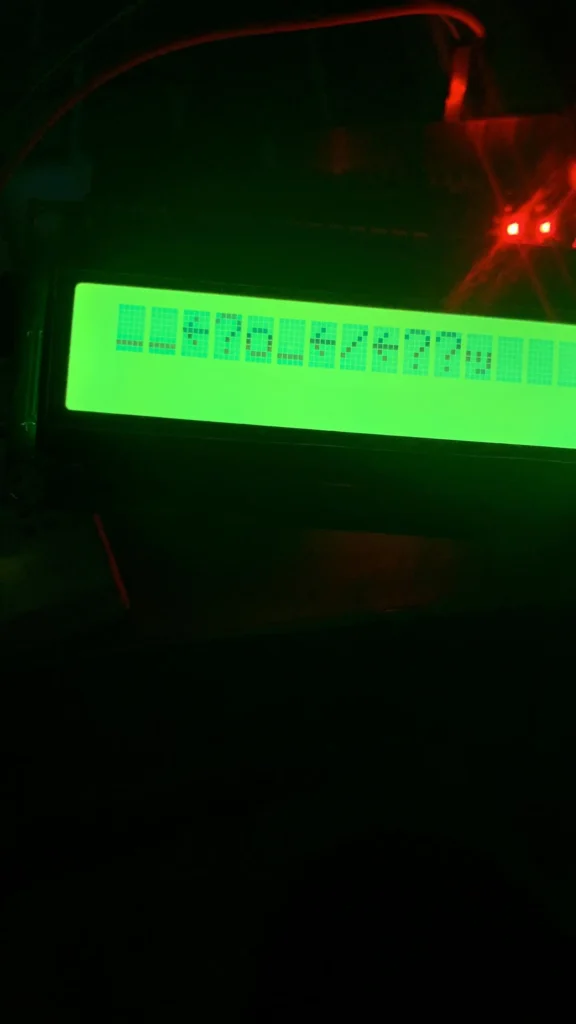
The aspect of this code that stands out is the clock speed. By default the clock speed is high and may cause the LCD to display weird characters.
Wire.setClock(5000);The above command reduces the speed down to a lower number. you can adjust it to be a little higher or lower than 5000.
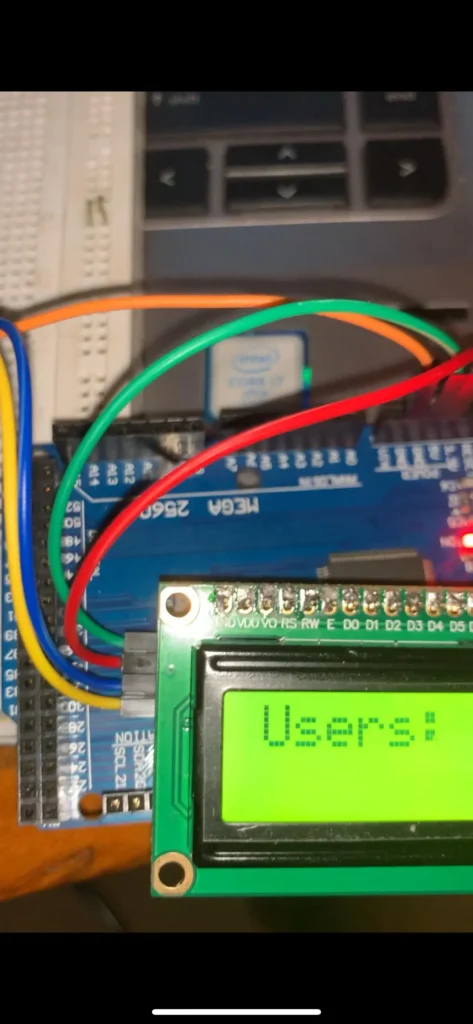
Once the code is uploaded the display should display correctly.
