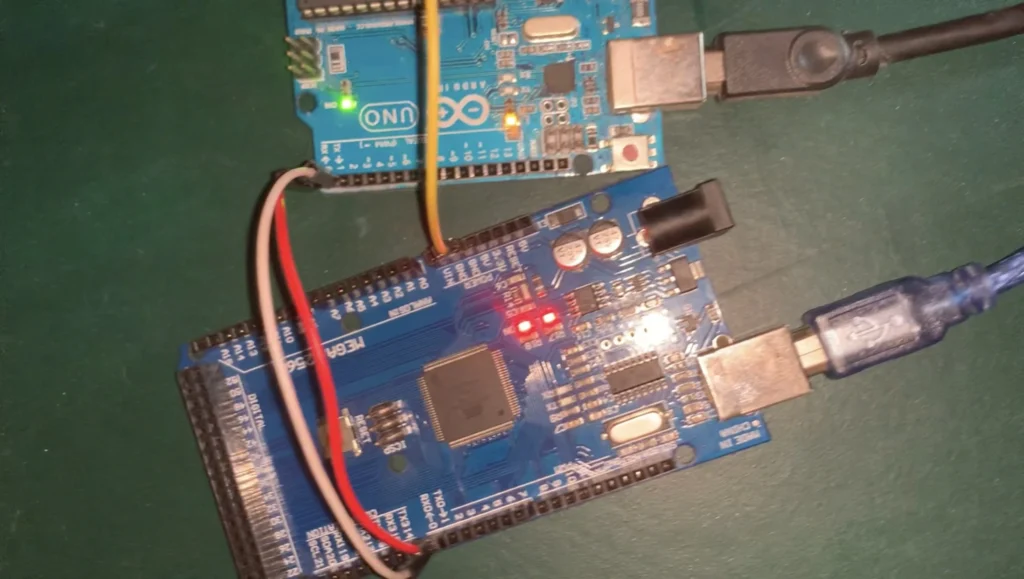
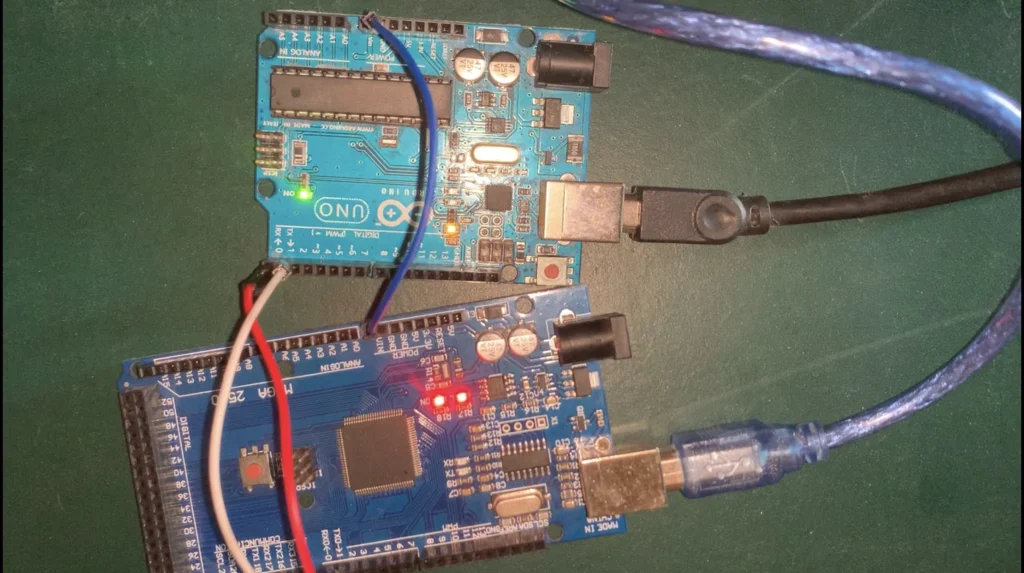
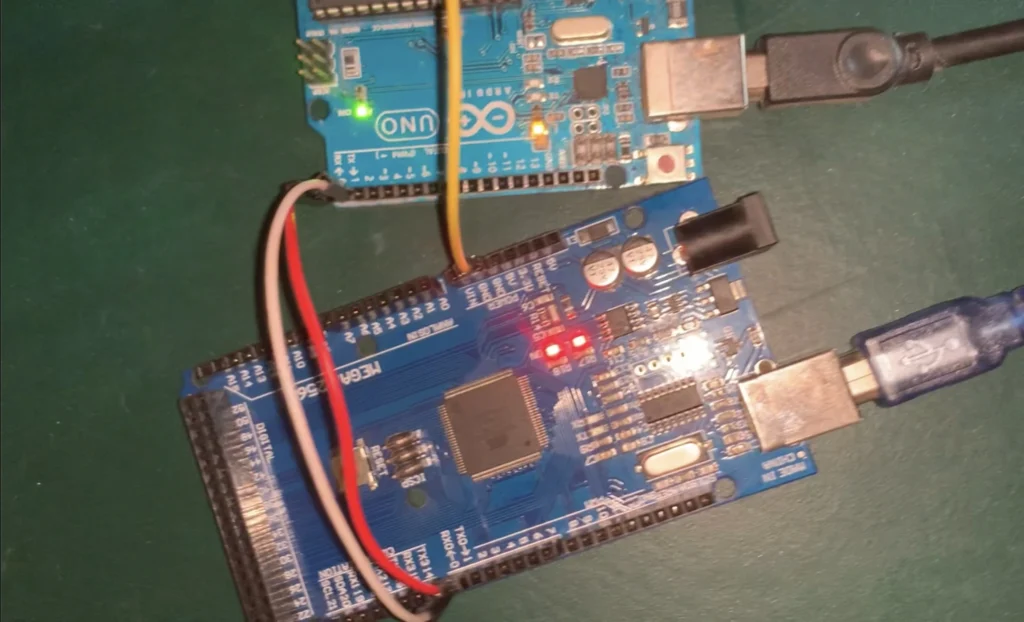
Serial communication refers to data transmission between two or more devices over a communication channel. Arduino Uno and other smaller variants have two (2) serial communication pins namely RX and TX normally D0 and D1 respectively.
Serial communication is similar to I2C communication the main difference is the library used. They both make use of dedicated pins for communication. I2C communication uses SDA and SCL pins instead of RX and TX pins for Serial communication.
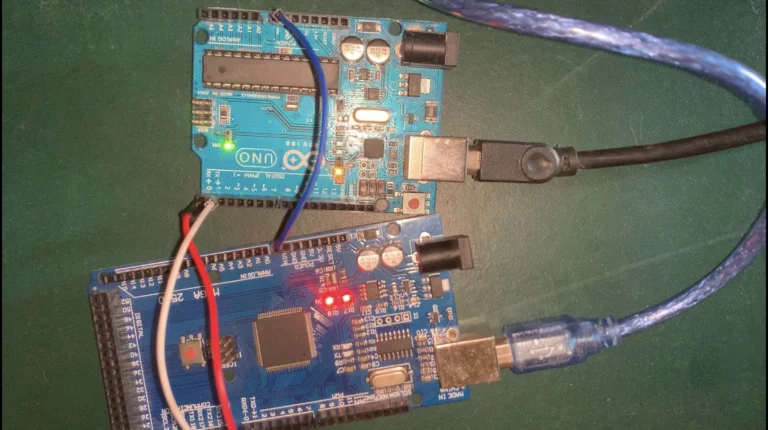
In this example, we will send data between two Arduino devices. We aim to see the range of data that can be transmitted using the serial communication Line.
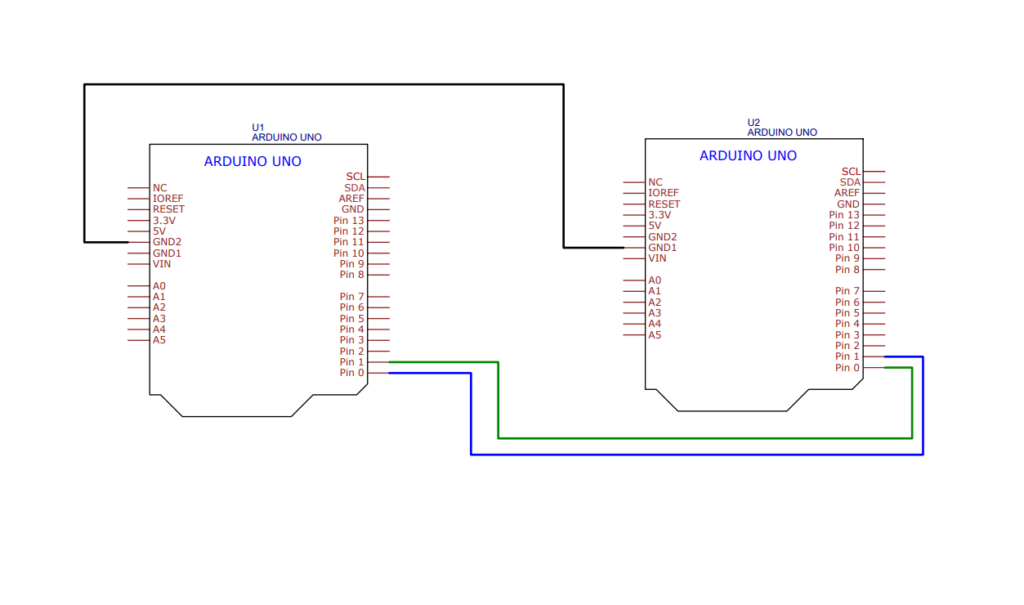
Connecting two devices for serial communication
For all the examples, make use of this same circuit diagram. We will only print the results on the serial monitor but you can take it to the next level after understanding the basics.
Transmitting characters using serial communication
in this example, we will try to send a set of strings from the master Arduino to the slave Arduino. We will see how to send a text from the master Arduino to the slave Arduino.
Arduino master code
char myMessage[5] = "Hello";

void setup() {
    Serial.begin(9600);
  }

  void loop() {
    Serial.write(myMessage,5);
    delay(1000);
  }
This transfers the string “Hello” to the slave Arduino. Serial.write() is used to send the data. Given that the variable declared is a string, we must include the string size.
Arduino Slave code
  char myMessage[10];

  void setup() {
    Serial.begin(9600);
  }

  void loop() {
    Serial.readBytes(myMessage,5);
    Serial.println(myMessage);
    delay(1000);
  }
The variable myMessage is declared capable of holding 10-byte. It will be used to store the received message. Serial.readBytes is a function that reads the communication line for the string sent. The Size is also included as well.
Sending multiple integers over the communication line
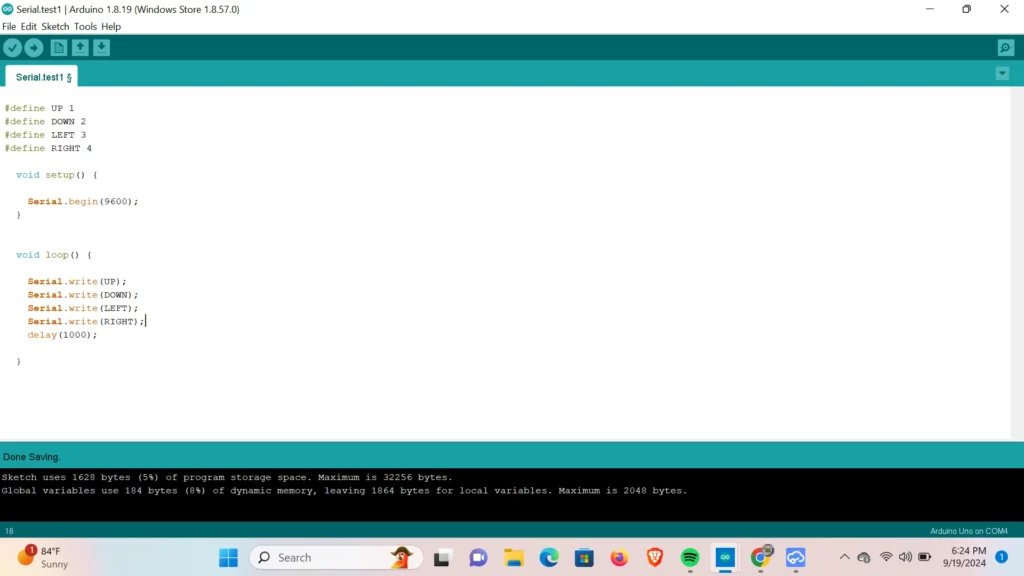
In this example, we will send multiple integers over the communication line and display them on the serial monitor. This example aims to see if we can send multiple data over the transmission line. This is most useful for larger projects such as robots and a larger system.
Master Arduino code
#define UP 1
#define DOWN 2
#define LEFT 3
#define RIGHT 4

  void setup() {
    Serial.begin(9600);
  }

  void loop() {
    Serial.write(UP);
    Serial.write(DOWN);
    Serial.write(LEFT);
    Serial.write(RIGHT);
    delay(1000);
  }
In this code, we stored the integers in already declared variables, and then sent the content of those variables over the communication bus.
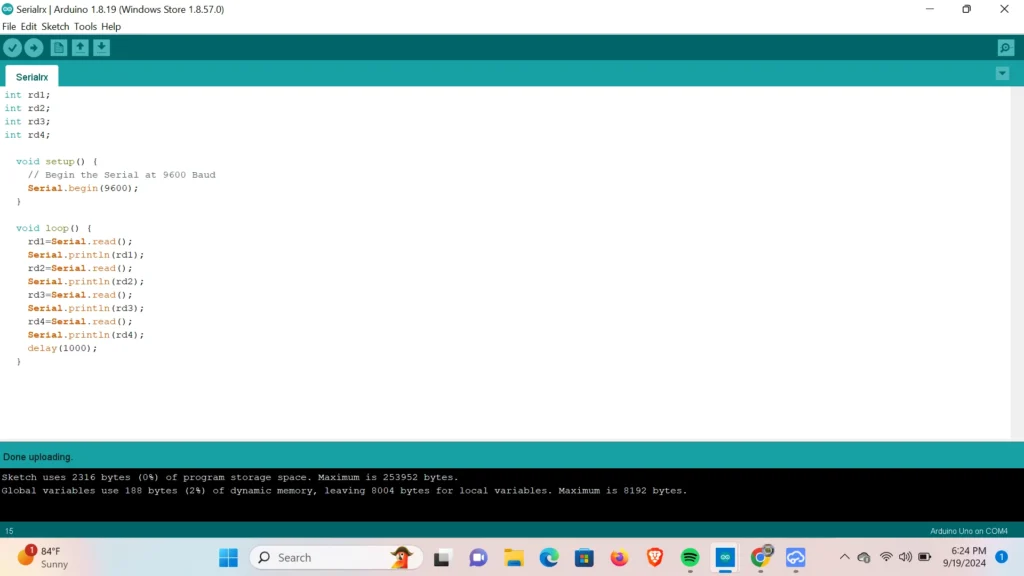
Slave Arduino code
int rd1;
int rd2;
int rd3;
int rd4;

  void setup() {
    // Begin the Serial at 9600 Baud
    Serial.begin(9600);
  }

  void loop() {
    rd1=Serial.read();
    Serial.println(rd1);
    rd2=Serial.read();
    Serial.println(rd2);
    rd3=Serial.read();
    Serial.println(rd3);
    rd4=Serial.read();
    Serial.println(rd4);
    delay(1000);
  }
From the top, we declared variables to store the received data in. In the void loop, we used the Serial.read() function to access the data from the communication bus and store them in the already declared variables. The data is sent serially. that’s to say the first data comes first and is stored then the second, then the third and so on.
