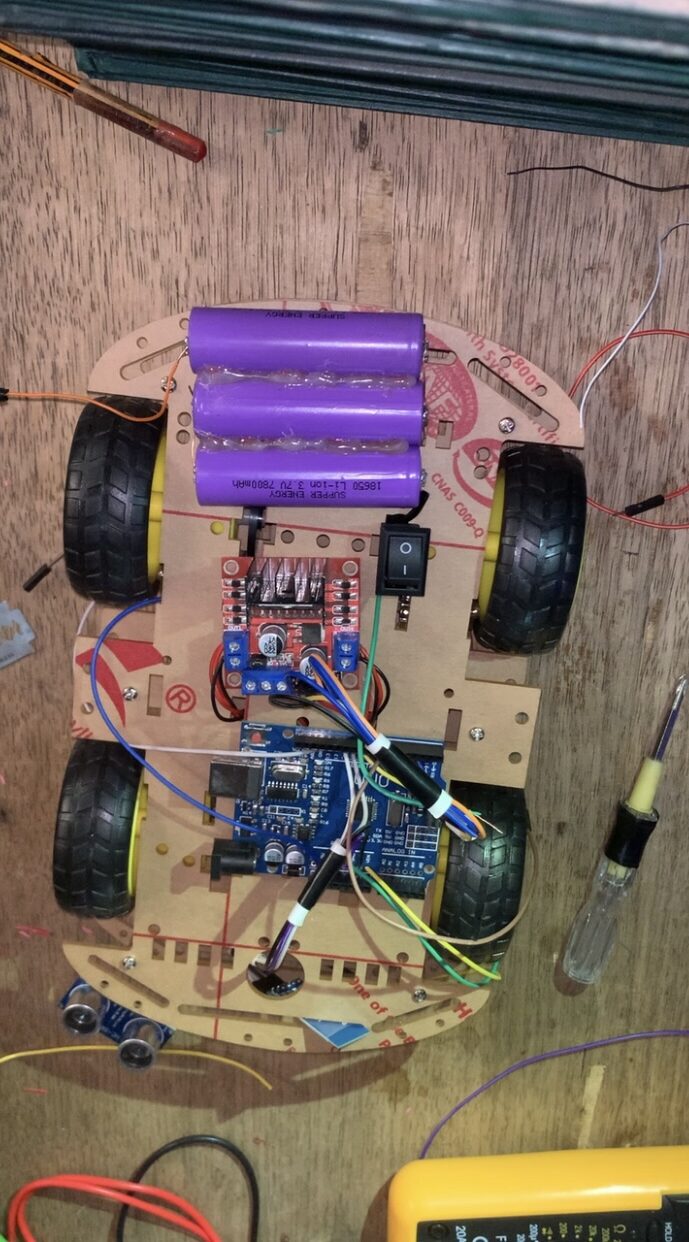
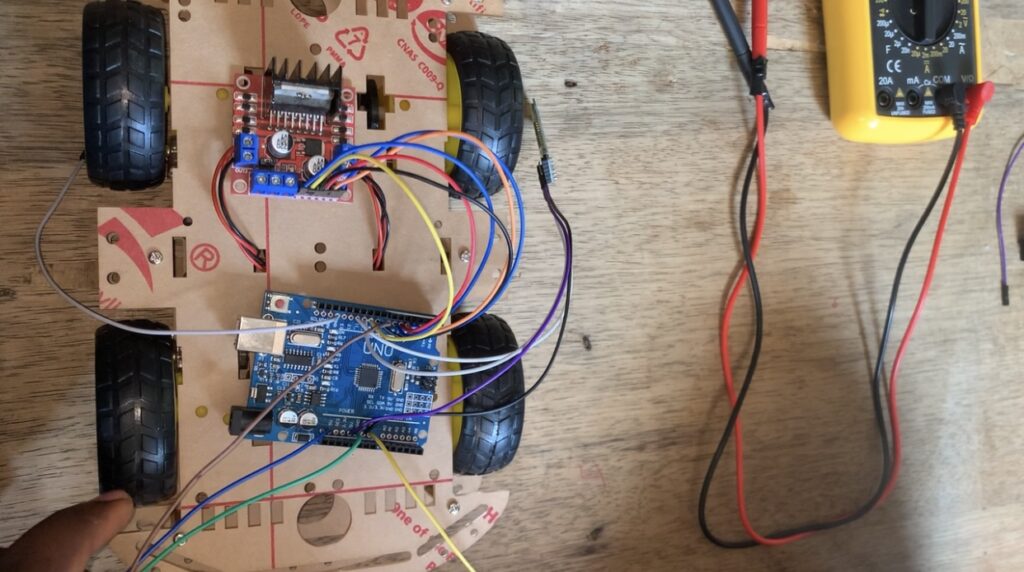
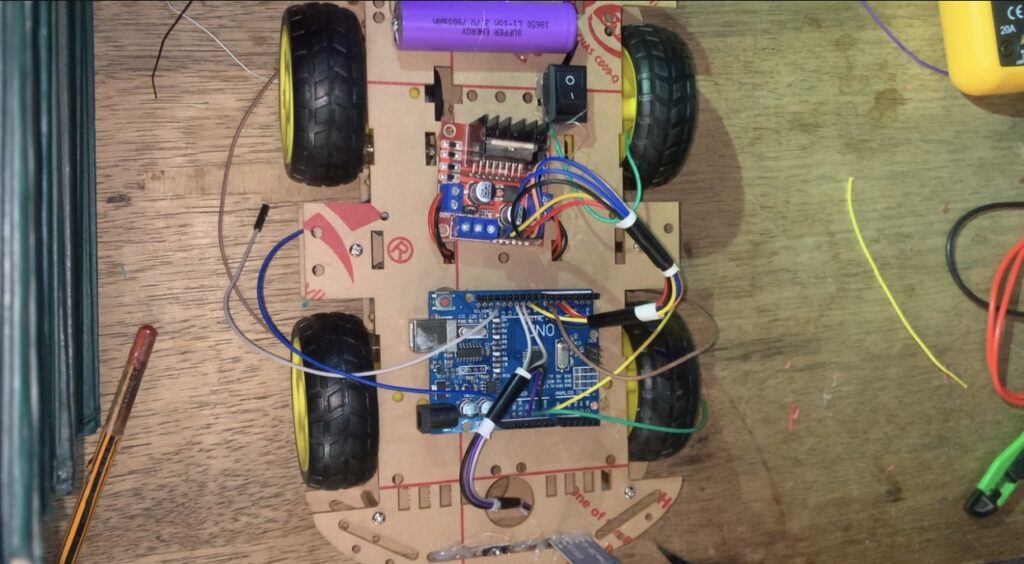
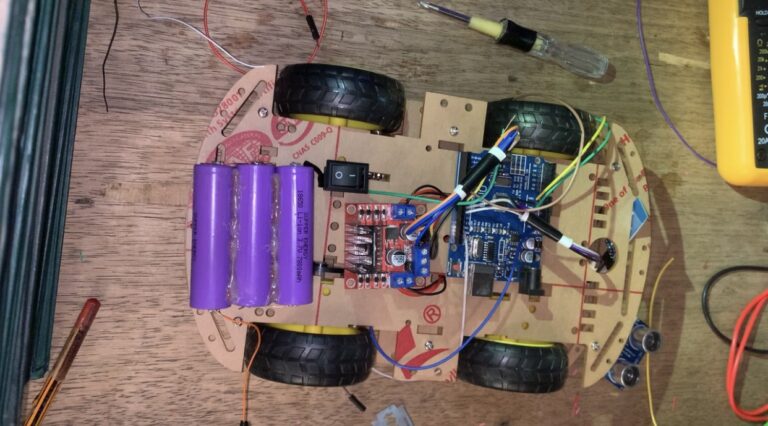
Developing a HC-05 Bluetooth car that is controlled via a Bluetooth mobile app. It is similar to a wireless remote-controlled car. It uses an Arduino Uno, a HC-05 Bluetooth module, and a H-bridge motor driver.
Components used in the
| S/NO | Component | Value | Qty |
| 1 | Robot car chasis | – | 1 |
| 2 | Arduino Uno | – | 1 |
| 3 | L298N | – | 1 |
| 4 | HC-05 | – | Robot car chassis |
| 5 | Robot car chassis | 3.7v | 3 |
| 6 | Switch | – | Batteries |
| 7 | Jumper wires | – |
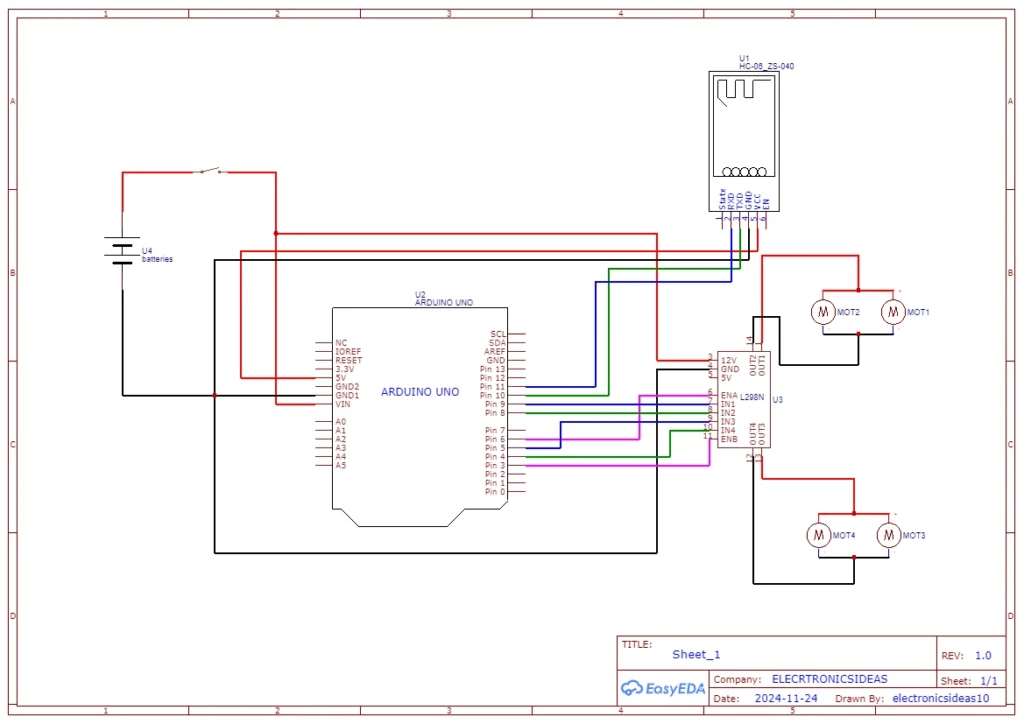
Circuit Diagram for hc-05 Bluetooth car
Code for hc-05 Bluetooth car
#include<SoftwareSerial.h>

SoftwareSerial bt(10, 11);    /(rx,tx)


int enA =6;
int in1 = 9;
int in2 = 8;
int enB =3;
int in3 =5;
int in4=4;

int motorSpeed=200;

char data;

void setup() {
    pinMode(enA,OUTPUT);
    pinMode(enB,OUTPUT);
    pinMode(in1,OUTPUT);
    pinMode(in2,OUTPUT);
    pinMode(in3,OUTPUT);
    pinMode(in4,OUTPUT);
    bt.begin(9600);
    Serial.begin(9600);
    Serial.println("Active");
}

void loop() {
   while (bt.available())
   {
      { data = bt.read();
        Serial.println(data);
}


switch(data){
  case 'F':
 analogWrite(enA,motorSpeed);
  analogWrite(enB,motorSpeed);
  forward();
  break;
  case 'B':
 analogWrite(enA,motorSpeed);
  analogWrite(enB,motorSpeed);
  reverse();
  break;
  case 'L':
   analogWrite(enA,motorSpeed);
  analogWrite(enB,motorSpeed);
  turnLeft();
  break;
  case 'R':
   analogWrite(enA,motorSpeed);
  analogWrite(enB,motorSpeed);
  turnRight();
  break;
  default:
  noMove();
  break;
}
}
}

void forward(){
    digitalWrite(in1, HIGH);
    digitalWrite(in2, LOW);
    digitalWrite(in3, HIGH);
    digitalWrite(in4, LOW);
    Serial.println("forward");
}

void reverse(){
    digitalWrite(in1, LOW);
    digitalWrite(in2, HIGH);
    digitalWrite(in3, LOW);
    digitalWrite(in4, HIGH);
    Serial.println("Reverse");
}

void turnLeft(){
    digitalWrite(in1,LOW);
    digitalWrite(in2,HIGH);
    digitalWrite(in3,HIGH);
    digitalWrite(in4,LOW);
    Serial.println("Left");
}

void turnRight(){
    digitalWrite(in1,HIGH);
    digitalWrite(in2,LOW);
    digitalWrite(in3,LOW);
    digitalWrite(in4,HIGH);
    Serial.println("Right");
}
void noMove(){
      digitalWrite(in1,LOW);
    digitalWrite(in2,LOW);
    digitalWrite(in3,LOW);
    digitalWrite(in4,LOW);
    Serial.println("Stop");
}
Code Explanation for hc-05 Bluetooth car
#include<SoftwareSerial.h>

SoftwareSerial bt(10, 11);    /(rx,tx)


int enA =6;
int in1 = 9;
int in2 = 8;
int enB =3;
int in3 =5;
int in4=4;

int motorSpeed=200;

char data;
This section of the code includes the SoftwareSerial library which we use to add a serial bus for communication between the Bluetooth module and Arduino. In this serial bus, we used pin 10 (D10) to act as rx and pin 11 (D11)to serve as tx. In serial communication, we connect rx to tx and tx to rx.
    pinMode(enA,OUTPUT);
    pinMode(enB,OUTPUT);
    pinMode(in1,OUTPUT);
    pinMode(in2,OUTPUT);
    pinMode(in3,OUTPUT);
    pinMode(in4,OUTPUT);
    bt.begin(9600);
    Serial.begin(9600);
    Serial.println("Active");
In the void setup, we set the pinMode for all the connected pins. We initialized both the software Serial and the Hardware Serial. The active that has been printed on the serial monitor is to ensure it works well.
   while (bt.available())
   {
      { data = bt.read();
        Serial.println(data);
}
This section of the code reads data on the software serial while the connection is active and stores the information in the variable data.
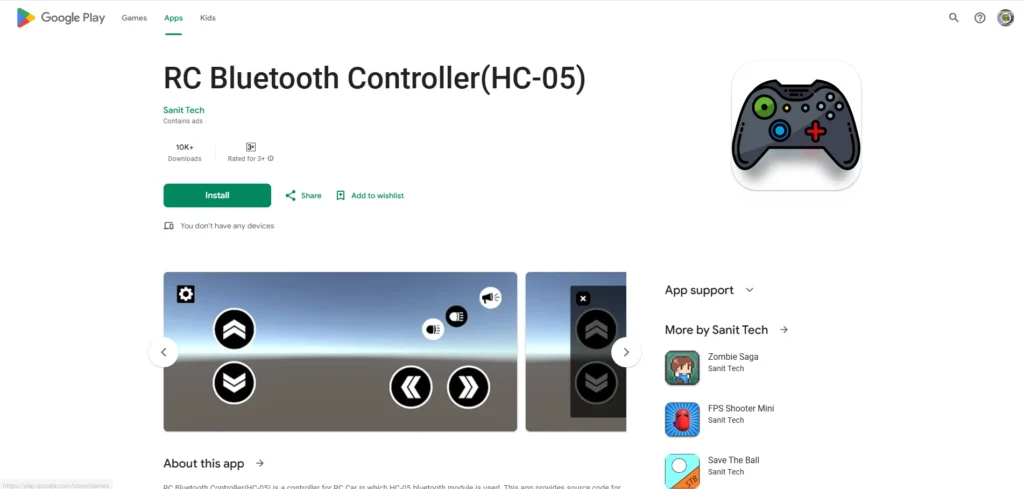
In this project, we used an Android app to control the car. The app is available only on Android devices. When any button is clicked from the app, it writes the alphabet on the software serial. Typically, capital letters are for when the button is pressed and smaller letters are for when the button is released. for our case study, we have the following;
| S/NO | Clicked | Released | Function |
| 1 | F | f | Forward |
| 2 | B | b | Reserse |
| 3 | L | l | Left |
| 4 | R | r | Reverse |
From the above table, you can use any other app to get the alphabet and update it in the code to make your car function properly. RC Bluetooth Controller(HC-05)
switch(data){
  case 'F':
 analogWrite(enA,motorSpeed);
  analogWrite(enB,motorSpeed);
  forward();
  break;
  case 'B':
 analogWrite(enA,motorSpeed);
  analogWrite(enB,motorSpeed);
  reverse();
  break;
  case 'L':
   analogWrite(enA,motorSpeed);
  analogWrite(enB,motorSpeed);
  turnLeft();
  break;
  case 'R':
   analogWrite(enA,motorSpeed);
  analogWrite(enB,motorSpeed);
  turnRight();
  break;
  default:
  noMove();
  break;
}
We used the switch function to change actions. The car stops moving when the button is released.
void forward(){
    digitalWrite(in1, HIGH);
    digitalWrite(in2, LOW);
    digitalWrite(in3, HIGH);
    digitalWrite(in4, LOW);
    Serial.println("forward");
}

void reverse(){
    digitalWrite(in1, LOW);
    digitalWrite(in2, HIGH);
    digitalWrite(in3, LOW);
    digitalWrite(in4, HIGH);
    Serial.println("Reverse");
}

void turnLeft(){
    digitalWrite(in1,LOW);
    digitalWrite(in2,HIGH);
    digitalWrite(in3,HIGH);
    digitalWrite(in4,LOW);
    Serial.println("Left");
}

void turnRight(){
    digitalWrite(in1,HIGH);
    digitalWrite(in2,LOW);
    digitalWrite(in3,LOW);
    digitalWrite(in4,HIGH);
    Serial.println("Right");
}
void noMove(){
      digitalWrite(in1,LOW);
    digitalWrite(in2,LOW);
    digitalWrite(in3,LOW);
    digitalWrite(in4,LOW);
    Serial.println("Stop");
}
The functions are the main movement of the car.
Explanation of how the HC-05 Bluetooth car works
After all the connections have been made correctly, turn on the HC-05 Bluetooth car. Search for available Bluetooth on your phone. Connect to HC-05; the pairing code is usually 1234. After connecting your Bluetooth, open the app, click the gear icon at the top left corner, and select Connect. The button turns green to show you have connected successfully. You can now control the car from the app.
Images from the HC-05 Bluetooth car project
