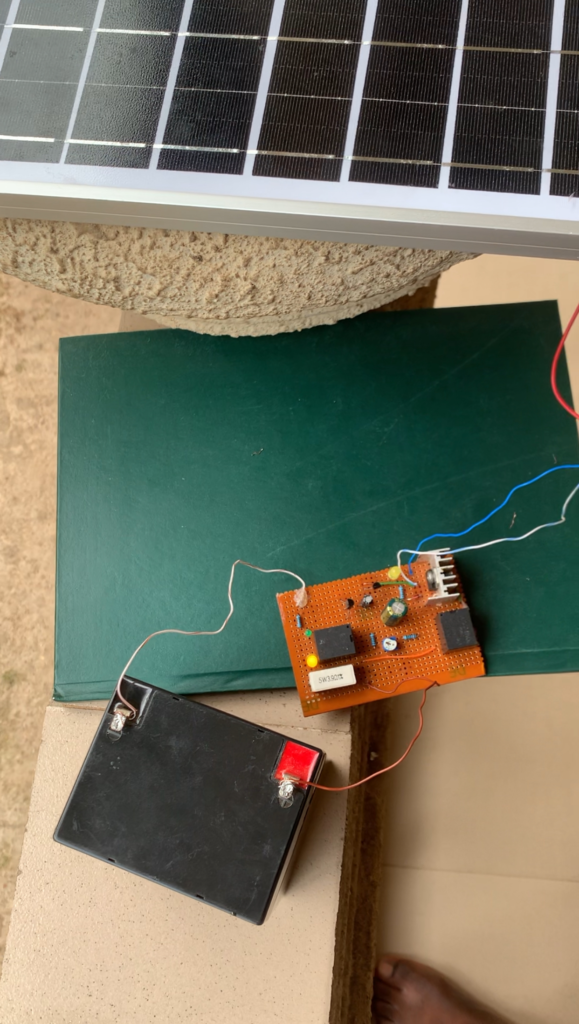
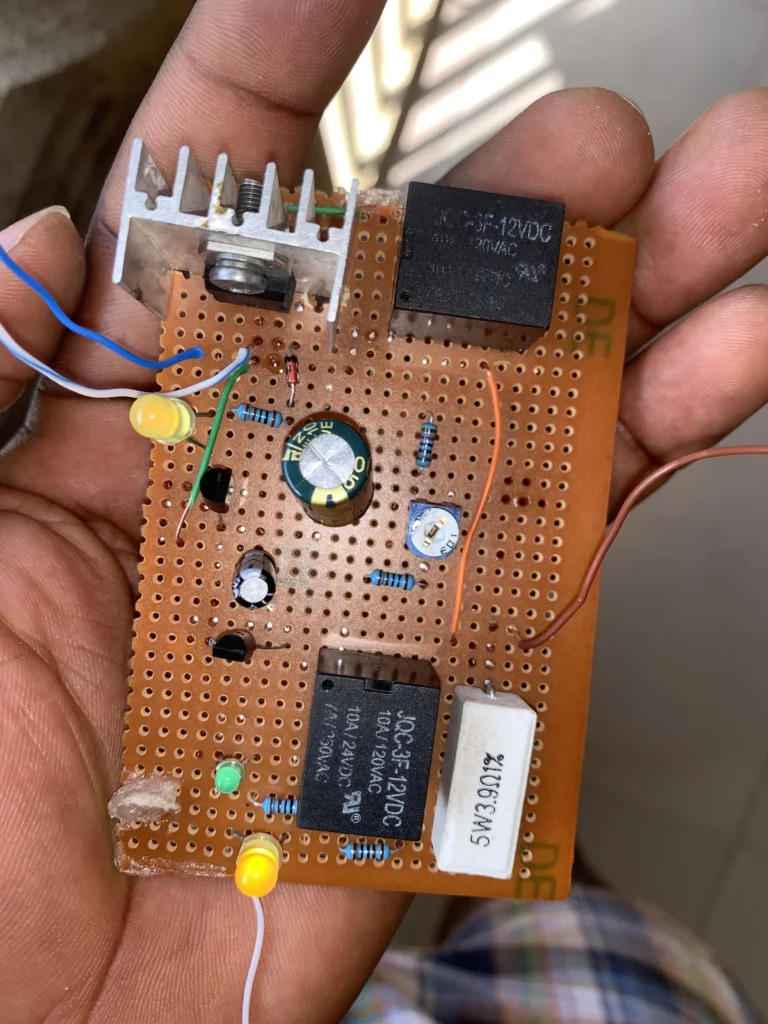
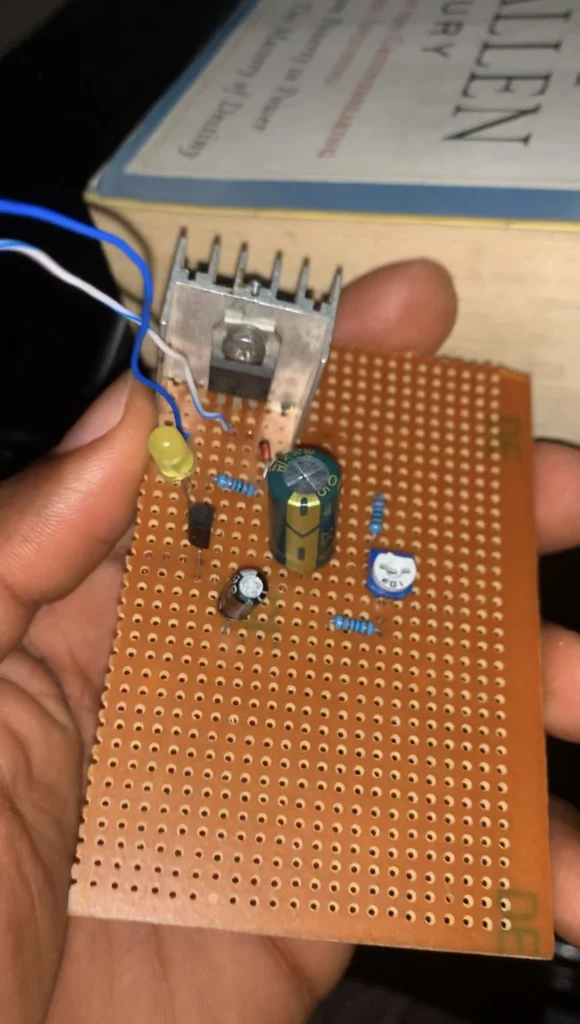
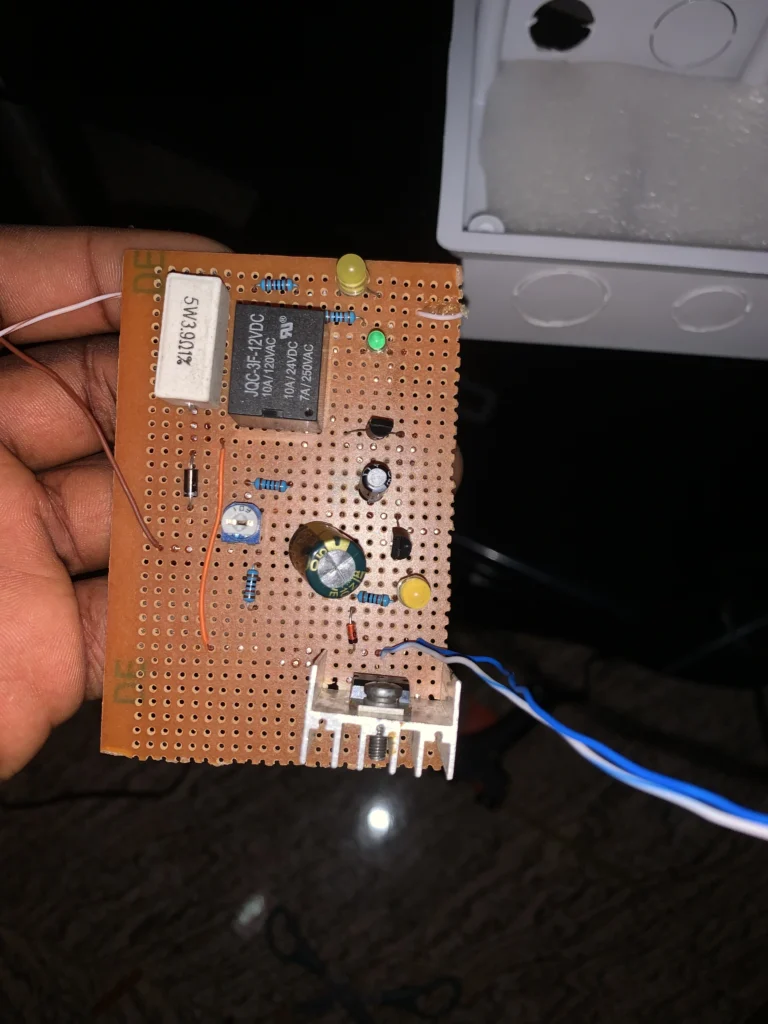
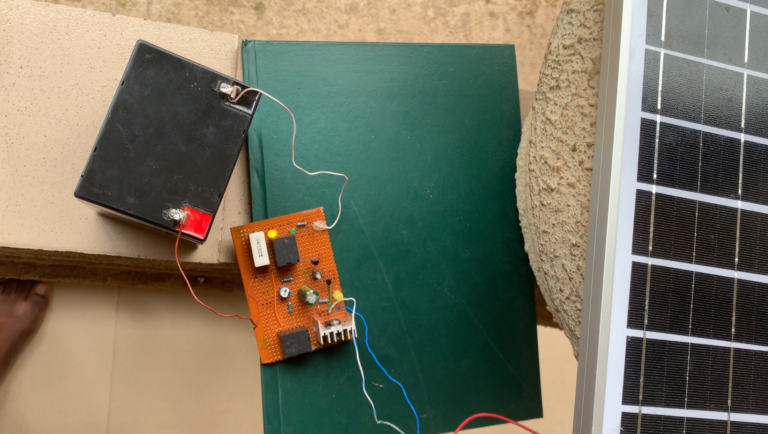
A solar charger is an important innovation as solar is one of the most common energy sources. This design has voltage protection for both over and under voltage. We used simple components and kept things simple for better comprehension.
Components used in this project
| S/NO | Component | Value | Qty |
| 1 | L7815CV | 15V | 1 |
| 2 | 1N4740A | 10V | 1 |
| 3 | Resistors | 1Kohm | 3 |
| 4 | Resistor | 10Kohm | 1 |
| 5 | Preset | 10kohm | 1 |
| 6 | Choke resistor | 3.9ohm 5Watt | 1 |
| 7 | 2N2222 | NPN | 2 |
| 8 | Relay | 12V | 2 |
| 9 | Capacitor | 1000uf | 1 |
| 10 | Capacitor | 10uf | 1 |
| 11 | LEDs | – | 3 |
| 12 | Heatsink | – | 1 |
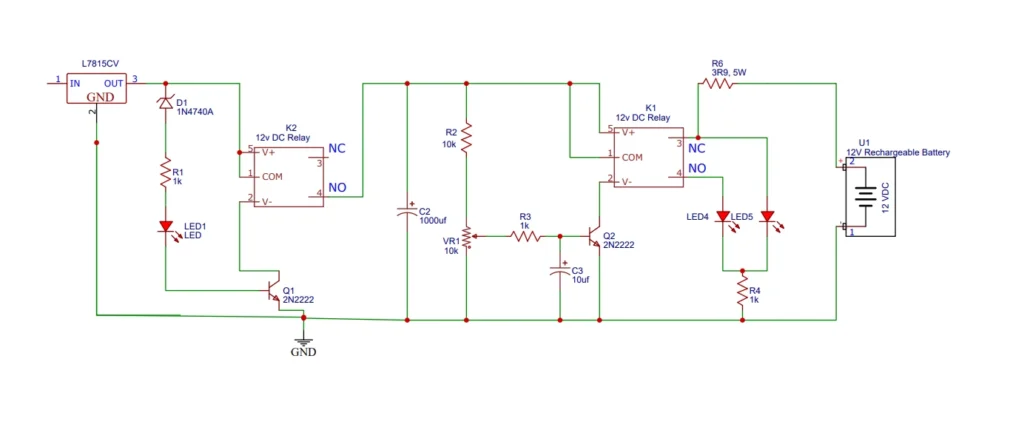
Circuit Diagram of the solar charger
How the solar charger works
The solar panel is connected directly to a 15v regulator attached to a heatsink. The voltage regulator serves as overvoltage protection. The reason for using a voltage regulator as opposed to a Zener diode is to allow panels with higher output voltage to be supported as well. The output of the voltage regulator is connected to a 10V zener diode to test for under-voltage.
The zener diode is connected in reverse bias, that’s to say it conducts only when the voltage exceeds the breakdown voltage which is 10V in our case. If the input voltage from the panel is less than 10V, the system will remain off. The zener diode is connected to the base of an NPN transistor. Once the input voltage exceeds 10V, the zener diode conducts and turns the transistor on.
Once this test is passed, the relay turns on and lets the input voltage move forward. The capacitor filters the voltage, then a voltage comparator. The preset is set such that when the battery reaches 14V it will send high voltage to the base of the transistor to turn it on.
To set the preset, you will attach a fixed 14v power source in place of the battery while the solar panel is still connected at the other end. Then adjust the preset until the relay clicks, that’s all. The auto-cut-off feature is set. Unplug the power source and attach your battery.
NOTE: There are many ways to set the preset. You can let the battery charge while you test from time to time with a multimeter as soon as the battery reaches 14V you tune the preset till it clicks.
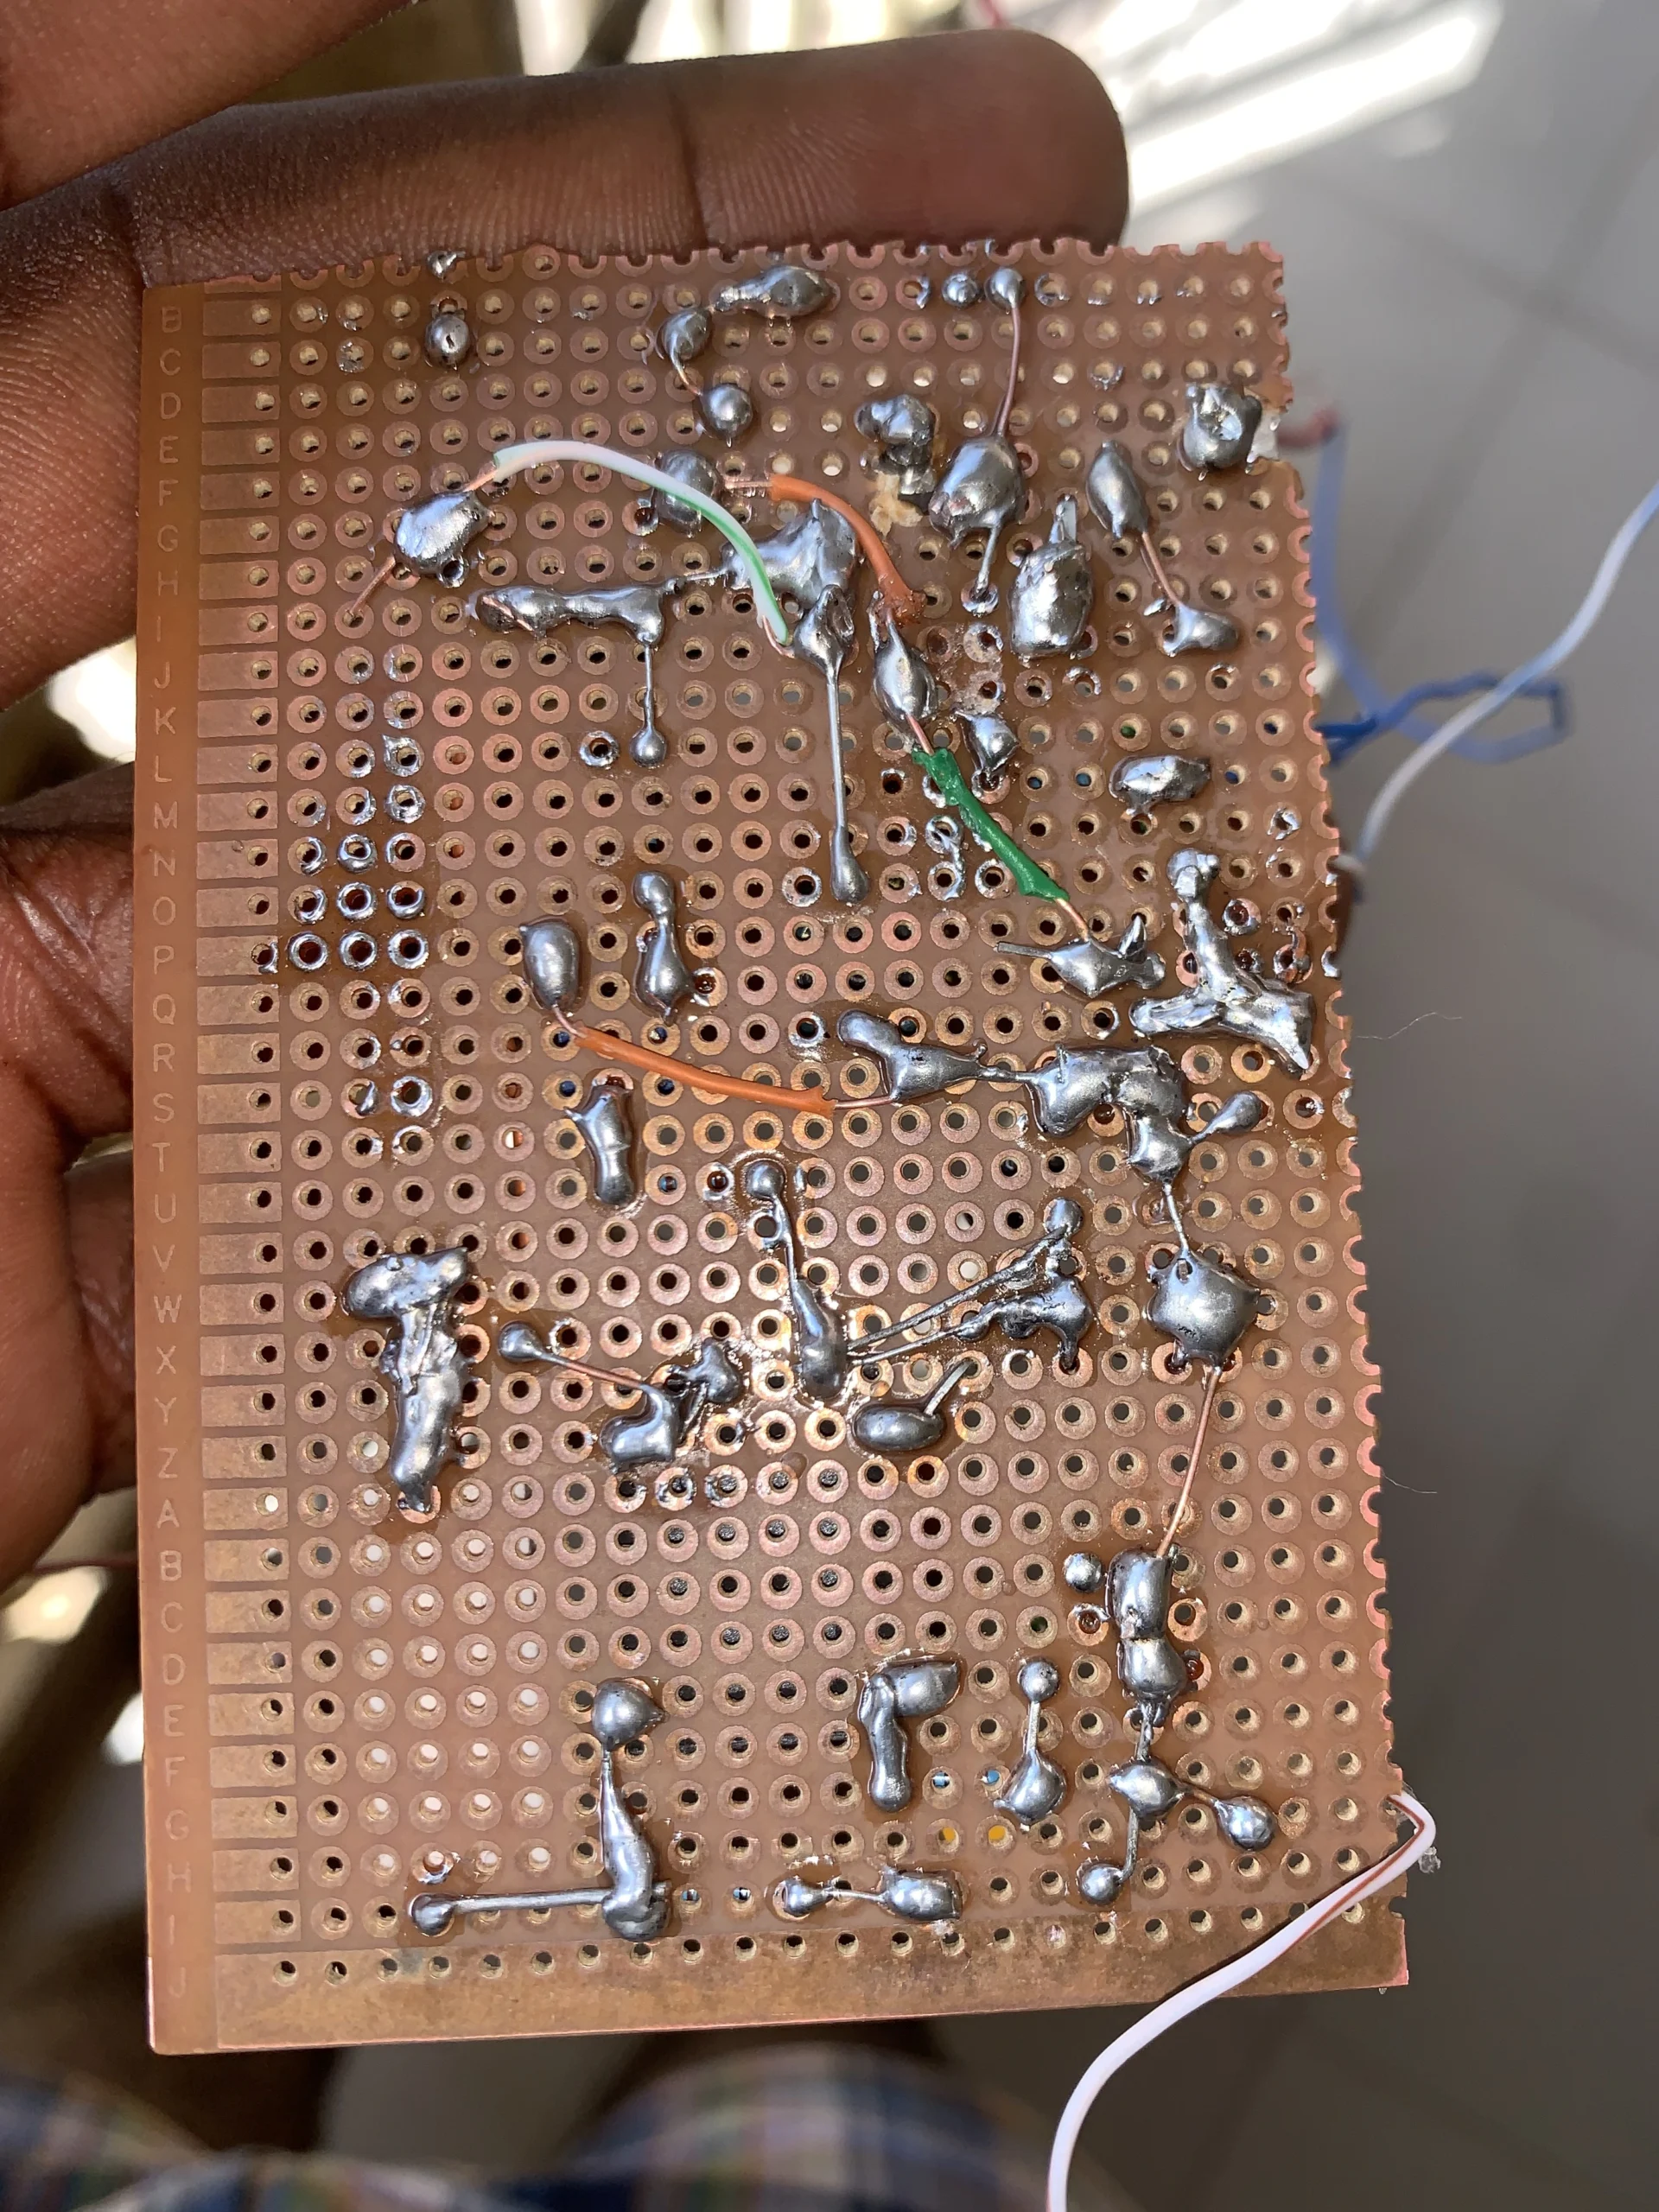
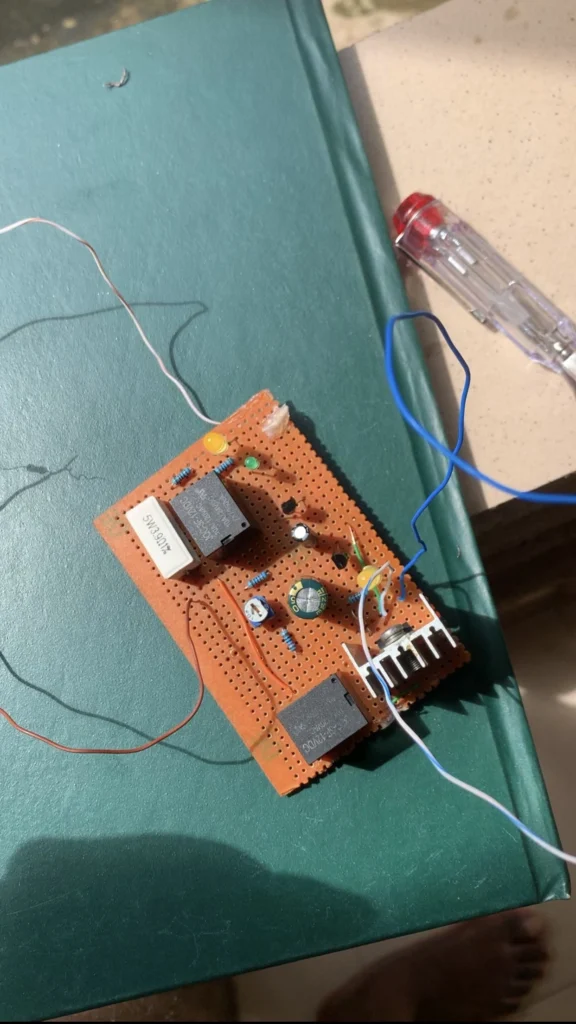
Images from the solar charger project
