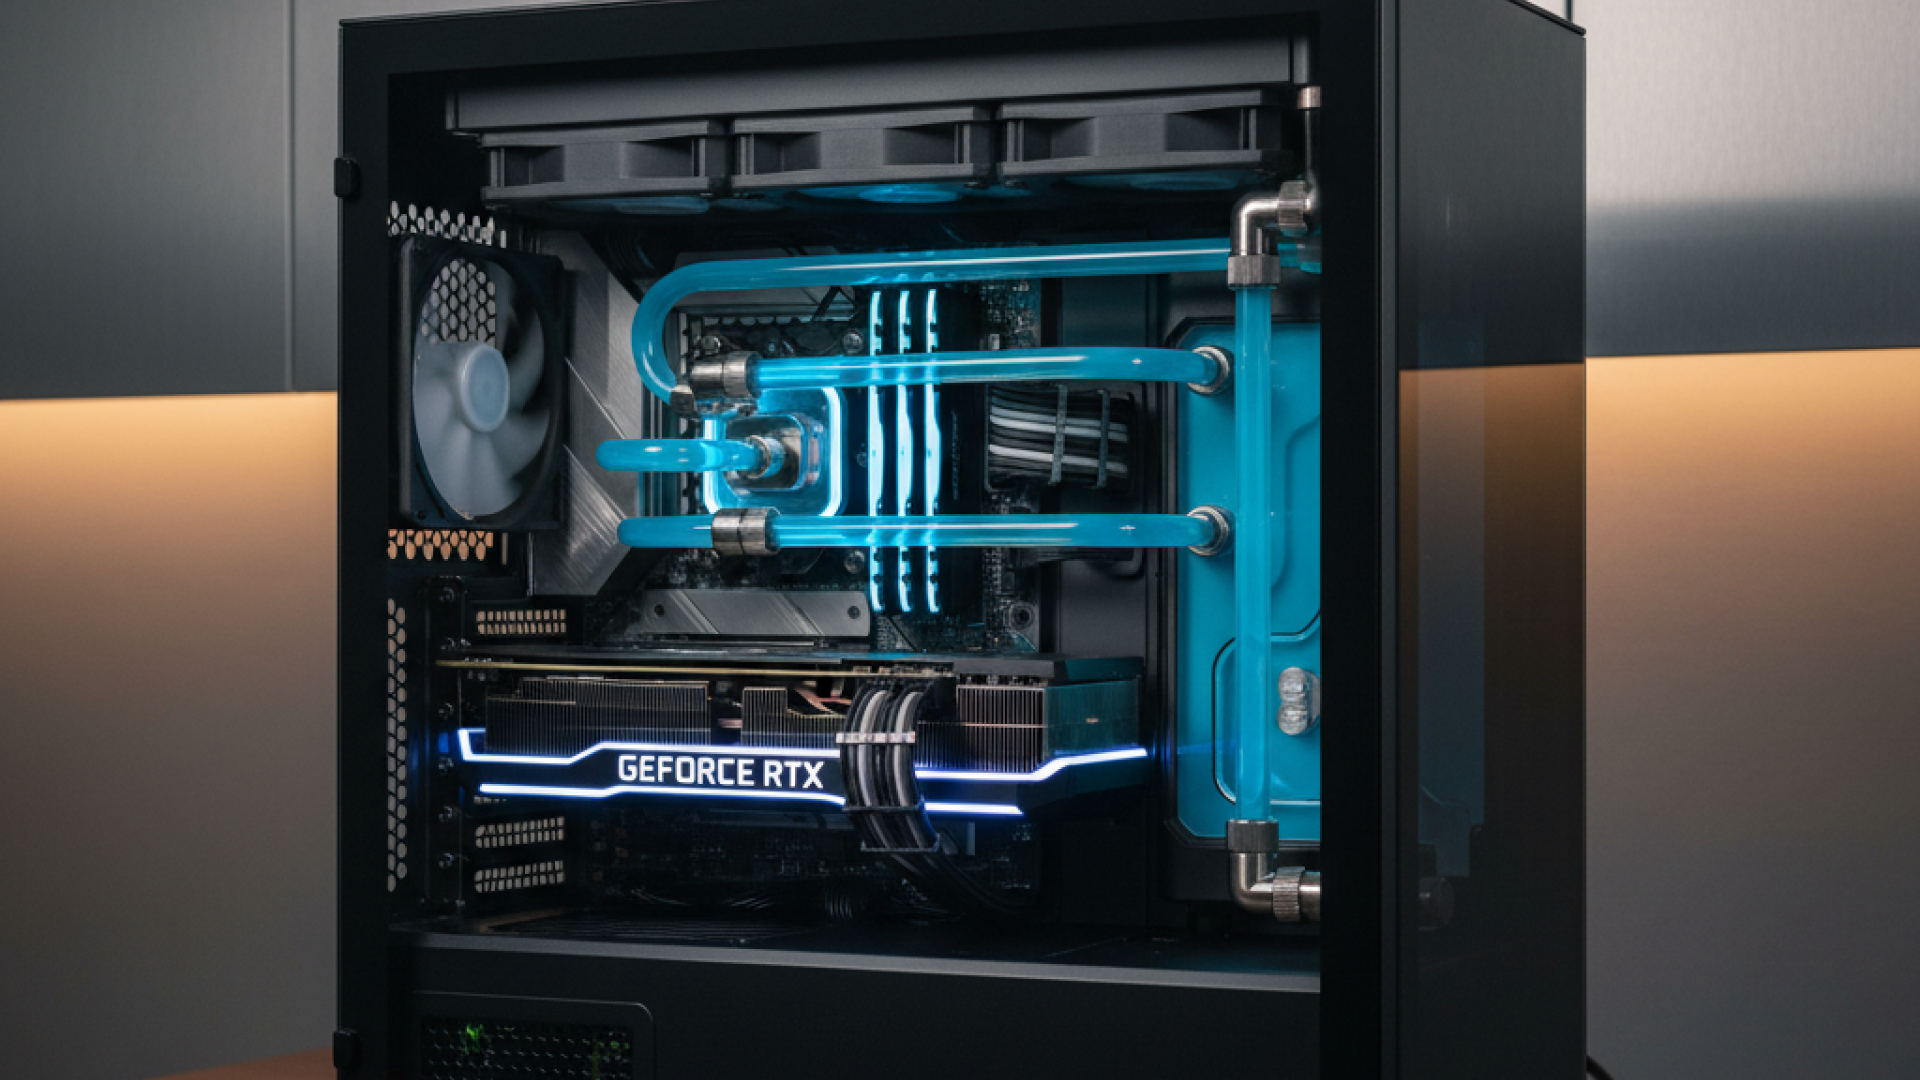
You’ve spent weeks researching parts and hundreds (or thousands) of dollars on components. Finally, everything arrives. The excitement is real. But here’s the harsh reality: one small oversight, forgetting a single cable, using the wrong RAM slots, or mixing up PSU cables can turn your dream build into weeks of troubleshooting nightmares.
Just last month, a builder on r/buildapc shared how they spent $2,400 on components, only to discover their 380mm GPU wouldn’t fit in their 350mm-max case after full assembly. Hours of work were completely wasted. These common PC building mistakes happen to even careful builders, and they’re more prevalent than you might think.
Whether you’re a first-time PC builder or have assembled systems before, understanding these PC build errors before you start is crucial. This guide is laser-focused on the pitfalls that can derail a build, not just the basics of installation, but the subtle, costly mistakes that catch people off guard.
Our advice consolidates manufacturer guidelines, hardware testing data from sources like GamersNexus and Tom’s Hardware, and the collective wisdom of the PC building community. According to PCPartPicker’s internal compatibility data, approximately 18% of first-time builds encounter preventable issues. Avoiding these mistakes saves time, money, and the immense frustration of disassembling a completed build.
In this guide, we’ll cover the 10 most critical mistakes across compatibility checking, electrostatic discharge, assembly errors, power connections, and post-build software setup. Let’s ensure your build goes smoothly from the very start.
Mistake 1: Skipping the Compatibility Check
The Mistake: Assuming parts work together simply because they are new or from the current generation. Many builders purchase the latest components expecting seamless integration, but true compatibility is far more nuanced.
Why This Is So Common: With the flood of CPU models, motherboard chipsets, and RAM specifications, it’s easy to assume “modern equals compatible.” This is a dangerous oversimplification. A brand-new Intel Core Ultra 200 series CPU, for instance, is physically and electrically incompatible with an older LGA 1700 socket. These PC compatibility issues are among the most frequent and frustrating PC build errors for novices and veterans alike.
Specific Pitfalls:
- CPU Motherboard Compatibility: This extends beyond just the physical socket (e.g., AM5 for AMD Ryzen 7000/9000, LGA 1851 for Intel Core Ultra 200). An older BIOS version on a motherboard may not recognize a newer CPU without an update, rendering your system unable to post.
- RAM Compatibility: DDR4 and DDR5 are notched differently and are physically incompatible. Even with the correct generation, your motherboard may not support all advertised speeds; RAM compatibility is guaranteed by checking your motherboard’s Qualified Vendor List (QVL).
- GPU/Case Clearance: High-performance cards like the RTX 4090 can exceed 350mm. Failing to verify your case’s maximum GPU clearance, accounting for front fans or radiators, is a classic fitment error.
- PSU Requirements: Modern GPUs have specific power demands, requiring either the new 12VHPWR (12+4 pin) connector or multiple 8-pin PCIe cables. An underpowered or inadequate PSU can cause system instability under load.
The Solution: Never skip using a dedicated PC parts compatibility checker like PCPartPicker.com. This should be your first step. Always cross-reference the manufacturer’s detailed specifications for each component, consult your motherboard’s QVL for confirmed RAM compatibility, and meticulously check case and PSU specifications for physical and power requirements.
Making the right CPU choice is your first step to compatibility. For a deep dive on the latest options, see our comparison of AMD Ryzen 9000 vs Intel Core Ultra.
Mistake 2: Ignoring Static Electricity (ESD)
The Mistake: Building on carpet, wearing synthetic clothing like wool or polyester, or handling components without any ESD protection PC building precautions. Many first-time builders dismiss electrostatic discharge as an overblown concern, believing that if they don’t feel a shock, no harm is done.
The Risk: Static electricity PC damage is a real and insidious threat. A discharge as low as 10 volts, far below what a human can feel, can instantly fry the delicate silicon in your CPU, RAM, or GPU. The greater danger is “latent damage,” where a component is weakened but appears to function, only to fail mysteriously weeks or months later, leading to frustrating and unexplained crashes or instability.
The Solution: Learning how to ground yourself for a PC build is simple and non-negotiable. The most effective method is to use an anti-static wrist strap, securely clipped to the bare metal of your PC case (with the power supply installed, plugged into a grounded outlet but switched off). Always work on a hard, non-carpeted surface. Handle all components carefully by their edges, avoiding contact with the gold connectors and circuits on the bottom. Keep your components safely stored in their anti-static bags until the moment you are ready to install them.
Mistake 3: Forgetting the I/O Shield
The Mistake: Successfully mounting the motherboard to the standoffs, routing cables, and installing the CPU cooler, only to spot the motherboard I/O shield still sitting in the box. This is a classic and easily avoidable error.
The Consequence: This small oversight forces a complete disassembly. You must unscrew and remove the motherboard to install a component that takes 30 seconds. Beyond the immense frustration, the I/O shield is crucial: it blocks dust from entering your system, provides essential electromagnetic interference (EMI) shielding for cleaner signals, and helps ensure proper grounding.
The Solution: Adopt the most fundamental of PC building tips: “I/O shield installation FIRST, motherboard SECOND.” Before you place the motherboard near the case, retrieve the shield and press it firmly into the rectangular cutout on the case’s rear. Ensure all four edges are fully seated and secure. Only after you see that metal shield in place should you proceed with installing the motherboard itself.
Mistake 4: Poor Cable Management
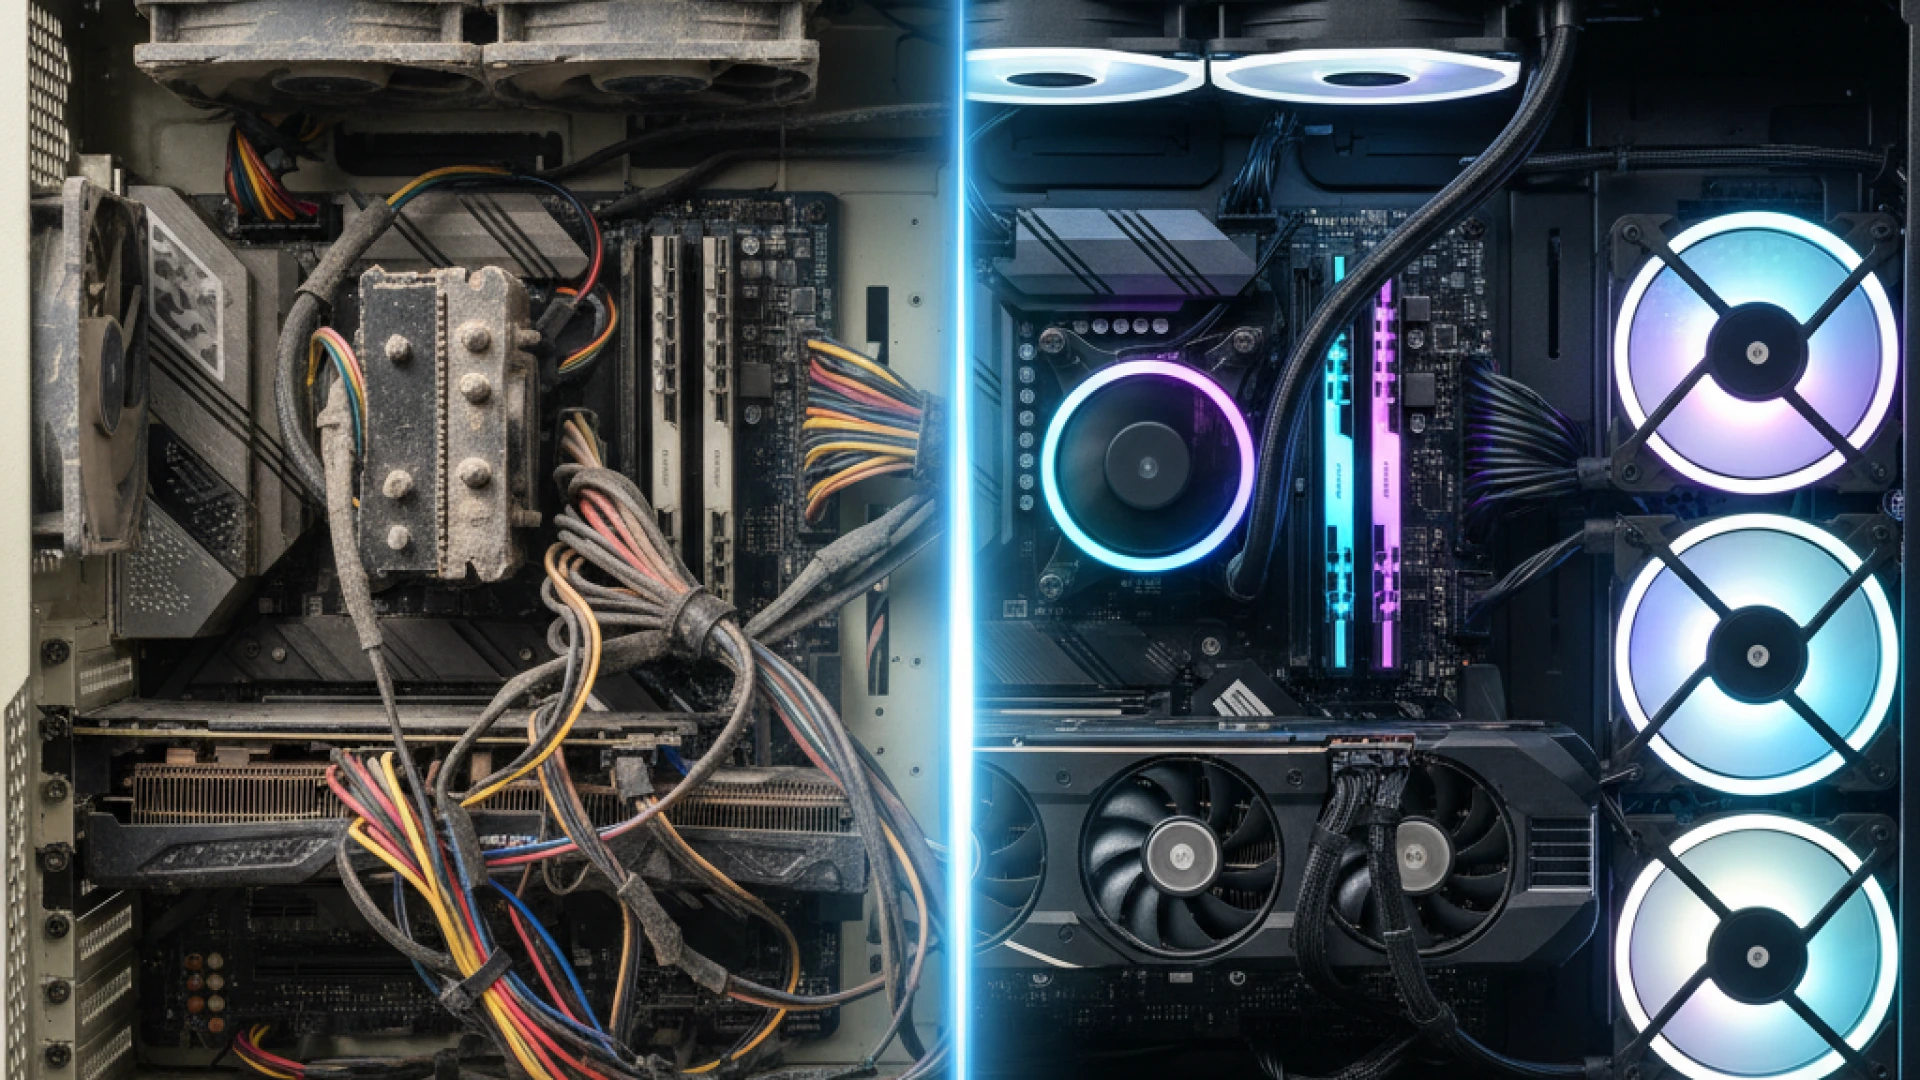
The Mistake: Rushing the build process and stuffing cables haphazardly into the case, treating cable management PC build as a purely cosmetic afterthought.
The Consequences: A tangled nest of wires has serious functional drawbacks. It acts as a physical barrier, disrupting airflow optimization and causing internal temperatures to rise. Hardware testing confirms this can lead to temperature increases of 5-10°C, resulting in louder fan noise, potential thermal throttling, and reduced component lifespan. Furthermore, poor management makes future upgrades and troubleshooting a frustrating exercise in navigating a dense web of cables.
The Solution: Adopt proactive PC cable management tips. Route the majority of your cables behind the motherboard tray, using the case’s built-in grommets and channels. Secure bundles with Velcro straps as you build, which allows for easy adjustments. The key is to manage cables as you install components, not after everything is connected. Route front-panel and data cables first, leaving the larger power supply cables for last to maintain a clean and logical layout.
CRITICAL Pro Tip: If you have a modular power supply, ONLY use the cables that came with that specific PSU model. The pinouts on the PSU side of modular cables are not standardized. Using a cable from a different power supply, even from the same brand, can send incorrect voltages to your components, instantly frying your motherboard, GPU, or drives.
Mistake 5: The “More Thermal Paste is Better” Myth
The Mistake: Applying a large, excessive glob of thermal paste, believing that more compound will lead to superior heat transfer. This is one of the most pervasive thermal paste application mistakes.
The Risks: Contrary to intuition, too much thermal paste acts as an insulator. The primary role of thermal paste is to fill microscopic air gaps between the CPU heat spreader and the cooler’s base plate; it is a less effective conductor of heat than the metal surfaces themselves. A thick layer creates a thermal barrier, and testing from sources like GamersNexus confirms this can increase CPU temperatures by 5-10°C. The secondary hazard is physical: excess paste can squeeze out and spill onto the motherboard. If this conductive or capacitive paste bridges sensitive electrical contacts, it can cause short circuits and permanent damage.
The Solution: The debate on how much thermal paste is settled by extensive testing. The most reliable and universally effective method is a single, pea-sized dot (approximately 4-5mm in diameter) placed directly in the center of the CPU. Do not manually spread it. The pressure from mounting the cooler will spread the paste evenly and thinly across the surface, perfectly filling the microscopic gaps without creating an insulating layer. This method provides optimal thermal performance with minimal risk and mess.
Mistake 6: Not Connecting Power to All Components
The Mistake: Plugging in the main 24-pin ATX power connector and assuming the job is complete. This is a primary reason for the dreaded “PC won’t boot after build” scenario, where the system shows signs of life but fails to display an image.
Common Forgotten Cables:
- CPU Power Connector (4+4 pin EPS): This dedicated CPU power connector, located at the top-left of the motherboard, is essential. Without it, the processor receives no power, and the system cannot complete its Power-On Self-Test (POST). High-performance CPUs demand substantial power, and some motherboards even feature dual 8-pin connectors for stability.
- GPU Power Cable (6+2 pin PCIe): Modern graphics cards require dedicated power. A critical error is using a single daisy-chain cable to power a high-wattage GPU. For cards like an RTX 4070 Ti or RX 7900 XT, you should use a separate GPU power cable that runs from the power supply for each connector. Daisy-chaining can cause voltage drops, instability, and overheating due to excessive current on a single wire.
The Solution: Before closing the case, perform a systematic “power cable sweep.” Visually and physically confirm the connection of the 24-pin ATX, the 4+4 or 8-pin EPS, all required PCIe power connectors, and power for storage drives and accessories. This simple check can save hours of frantic troubleshooting.
Mistake 7: Installing RAM in the Wrong Slots
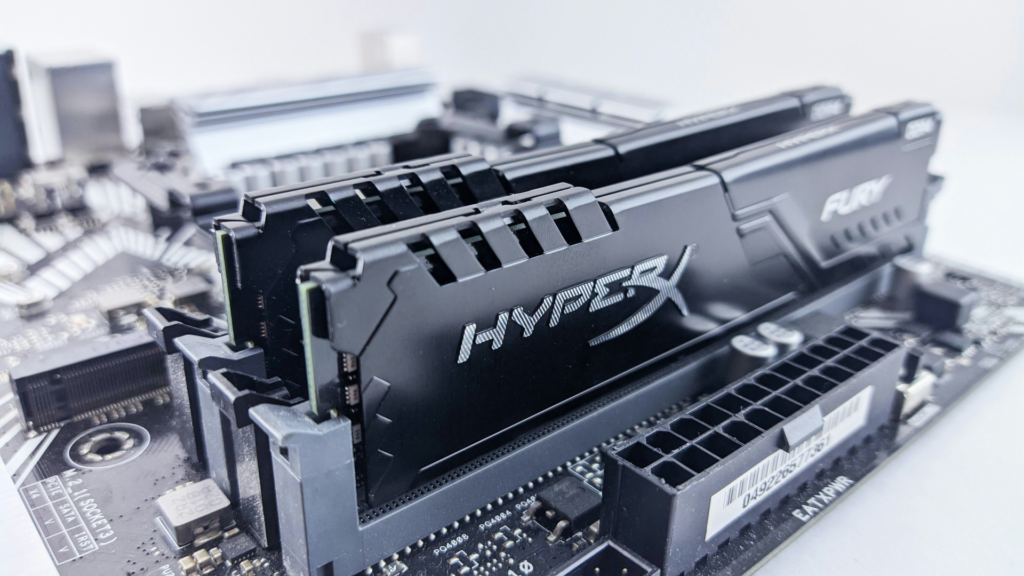
The Mistake: Placing two RAM sticks in adjacent slots (e.g., slots 1 and 2) because it seems logical. This is a common RAM installation mistake that has a direct and severe impact on performance.
The Consequence: This configuration forces the motherboard into single-channel mode, effectively cutting your memory bandwidth in half. Dual-channel memory operation, which requires sticks to be in the correct alternating slots, allows the memory controller to access two modules simultaneously. The result of this error is significant: you will experience noticeable memory performance issues, with benchmarks and real-world testing from sources like Hardware Unboxed showing frame rate drops of 10-20% in CPU-intensive games and substantial slowdowns in productivity applications.
The Solution: The rule is simple: always consult your motherboard manual. While the standard configuration for two sticks on most modern boards is the 2nd and 4th slots (A2 and B2), this is not universal. The manual provides the definitive diagram for optimal placement. After installation, verify “Dual” channel mode is active in your BIOS or a system utility like CPU-Z.
Choosing the right memory is key. Understand the performance implications with our guide to DDR5 vs DDR4 for gaming and AI.
Mistake 8: Not Testing Before Final Assembly
The Mistake: Fully assembling every component inside the PC case before attempting the very first power-on. Many builders are too eager to see the finished product and skip the most critical diagnostic step.
The Risk: Troubleshooting a failed system that’s fully built inside a case is a nightmare. A simple issue like a single unseated RAM stick or a missing power cable can force you to partially or completely disassemble the entire system to diagnose and fix it. This turns a 30-second reseating into a 30-minute ordeal of cable management and screwdrivers, significantly complicating the troubleshooting pc build process.
The Solution – The “Breadboard Test”: Before you install anything in the case, perform a minimal assembly called a breadboard test pc. Place your motherboard on its anti-static bag (or the box it came in). Install only the core components: the CPU and cooler, one stick of RAM in the correct slot, and the GPU (if your CPU lacks integrated graphics). Connect the main 24-pin ATX power and the 8-pin CPU power connector. Then, use a screwdriver to briefly touch the two PC post test power switch pins on the motherboard’s front-panel header. If the system powers on and you see a display or get a series of beeps, your core components are functional. You can then confidently proceed with the full, tidy assembly inside the case.
If it Fails: If the breadboard test pc fails, your troubleshooting pc build is now far simpler.
- Reseat Everything: Power down and reseat the RAM, GPU, and all power cables.
- Check Power: Double-check that both the 24-pin and 8-pin CPU power are firmly connected.
- Diagnostic LEDs: Most modern motherboards have diagnostic LEDs (often labeled CPU, DRAM, VGA, BOOT). Which one stays lit indicates where the problem lies (e.g., DRAM LED means a memory issue).
- Minimize Further: Try the other RAM stick alone, and in different slots. This systematic approach outside the case is the fastest way to identify a faulty component.
Mistake 9: Over-tightening Screws
The Mistake: Applying excessive force with a screwdriver to secure components, often due to a misconception that tighter equals more secure. This is a critical error in pc building screw tightening.
The Risks: The consequences of over-torquing screws are severe and often irreversible. You risk creating stripped screws pc issues, where the head of the screw is damaged, making removal nearly impossible. More dangerously, excessive force can crack the delicate fiberglass of a motherboard’s PCB or warp the cold plate of a CPU cooler, leading to poor contact and inadequate cooling. Another common motherboard standoff mistake is over-tightening the standoffs themselves, which can strip the threads in the case or cause the standoff to spin freely.
The Solution: The golden rule is that all screws should be “snug, not tight.” Use a firm but controlled pressure and stop turning the moment you feel distinct resistance. For most cases, cooler and drive screws require only finger-tight pressure with a screwdriver for assistance. The goal is to secure the component firmly without deforming or stressing the materials. A properly installed screw will not come loose under normal conditions and can be easily removed later for upgrades or maintenance.
Mistake 10: Skipping the Driver Installations
The Mistake: Assuming your PC is ready to go immediately after the Windows operating system is installed. While Windows can load basic generic drivers to get your system running, this is only a starting point and is insufficient for unlocking your hardware’s full potential.
The Consequences: Relying solely on default Windows drivers leads to severely limited performance and missing features. Your graphics card will not perform optimally for gaming or creative work, and you may experience lower frame rates and resolution. Furthermore, you can encounter system instability, crashes, and a lack of functionality for components like audio, networking, and motherboard chipsets. This oversight prevents your high-performance hardware from functioning as intended.
The Solution: To ensure optimal performance and stability, you must proactively install the correct motherboard drivers and GPU drivers. Follow this essential checklist for PC drivers after the build:
- Motherboard Drivers: Visit your motherboard manufacturer’s website (like ASUS or MSI), locate your specific model, and download the latest chipset, audio, and network (LAN/Wi-Fi) drivers from the support section.
- GPU Drivers: Go directly to the NVIDIA or AMD website to download the latest graphics driver for your specific model. During installation, choose the “Custom” option and select “Perform a clean installation” to prevent conflicts with previous driver remnants.
- Peripheral Drivers: For high-end gaming mice, keyboards, and other accessories, install the software from the manufacturer’s website (e.g., Razer Synapse, Logitech G Hub) to unlock customization and macro features.
Pro Tip: A common frustration is Windows Update automatically replacing your newly installed drivers with older, generic versions. To prevent this, pause Windows Update in its settings before you start your driver installation process. After you have manually installed all the latest drivers from the manufacturers’ websites, you can re-enable Windows Update.
For builders focused on content creation, getting your software stack right is just as important. Our guide to building a PC for video editing and streaming covers the essential drivers and software for optimal performance.
Frequently Asked Questions
What is the most common PC building mistake?
A very common and easily overlooked error is forgetting to connect the CPU power cable (the 4+4 or 8-pin EPS connector) near the top of the motherboard. Your system may light up, but it will not boot because the processor is not receiving power.
Can static electricity really damage components?
Yes, absolutely. Electrostatic discharge (ESD) can cause immediate failure or “latent damage,” where a component is weakened and fails weeks later. Discharges as low as 10-20 volts, which you cannot feel, can harm sensitive circuits. Always ground yourself before handling components.
How much thermal paste should I use on a CPU?
Use a pea-sized dot (about 4-5mm in diameter) in the center of the CPU’s integrated heat spreader. Do not spread it manually. The pressure from mounting the cooler will spread the paste evenly for optimal coverage and thermal transfer.
Why won’t my new PC boot?
If you press the power button and nothing happens, or you get no display, perform these checks first:
PSU Switch: Ensure the power supply’s I/O switch on the back is turned on.
Cables: Double-check that both the large 24-pin motherboard cable and the 8-pin CPU power cable are fully seated.
Components: Reseat the RAM and graphics card, ensuring they click firmly into place.
Do I need to install drivers after building a PC?
Yes. While Windows installs basic drivers, you need to download the latest chipset, GPU, and audio drivers from your motherboard and graphics card manufacturer’s websites for full performance, stability, and access to all features.
What happens if I install my RAM in the wrong slots?
Installing RAM in the wrong slots (e.g., adjacent slots instead of the recommended ones) forces the motherboard into single-channel mode. This can cut your memory bandwidth in half, leading to significant performance loss in games and applications, with frame rate drops of 10-30% in CPU-bound scenarios.
Should I test my PC before putting everything in the case?
Yes, performing a “breadboard test” is highly recommended. Assemble core components (motherboard, CPU, cooler, one RAM stick, GPU, and PSU) outside the case on a non-conductive surface like the motherboard box. This makes troubleshooting a failed boot dramatically easier than in a fully assembled case.
Can I use any thermal paste, or does brand matter?
Brand and quality matter significantly for performance and longevity. While budget-branded pastes are fine for most builds, unbranded, no-name pastes often lead to higher temperatures and instability. High-quality pastes from reputable brands like Thermal Grizzly, Arctic, and Noctua offer better thermal conductivity and long-term stability. For a high-performance system or overclocking, a quality paste can make a noticeable difference.
Conclusion
Building a PC is an incredibly rewarding experience, culminating in the unique satisfaction of powering on a high-performance machine you assembled yourself. The knowledge you’ve gained here is your greatest asset in avoiding PC build mistakes, transforming a potentially frustrating process into a smooth and successful journey.
The universal truth that separates a successful PC build from a troubleshooting nightmare is not complex technical skill, but the application of patience and methodical double-checking. These are your most valuable tools. Rushing the final steps can undo hours of careful work, while a few extra minutes spent verifying connections and consulting manuals can save you from days of frustration.
Remember, every expert builder started where you are now. The fact that you’ve sought out this guide shows you are taking the smart, informed approach. You’ve got this.
