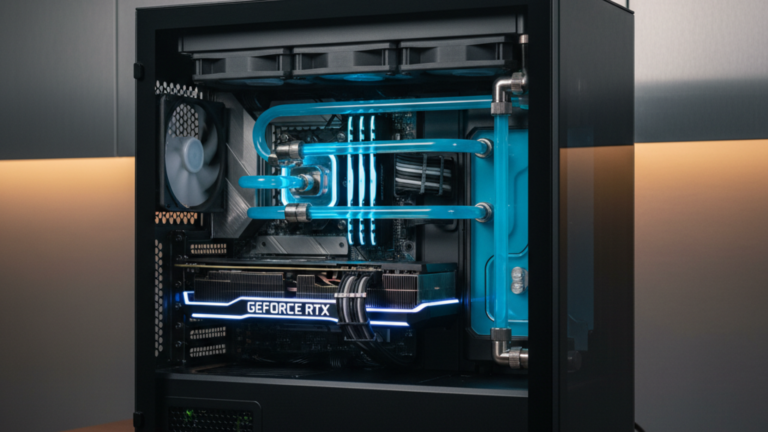
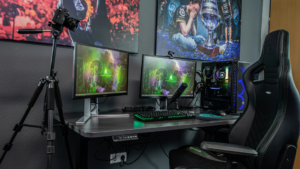
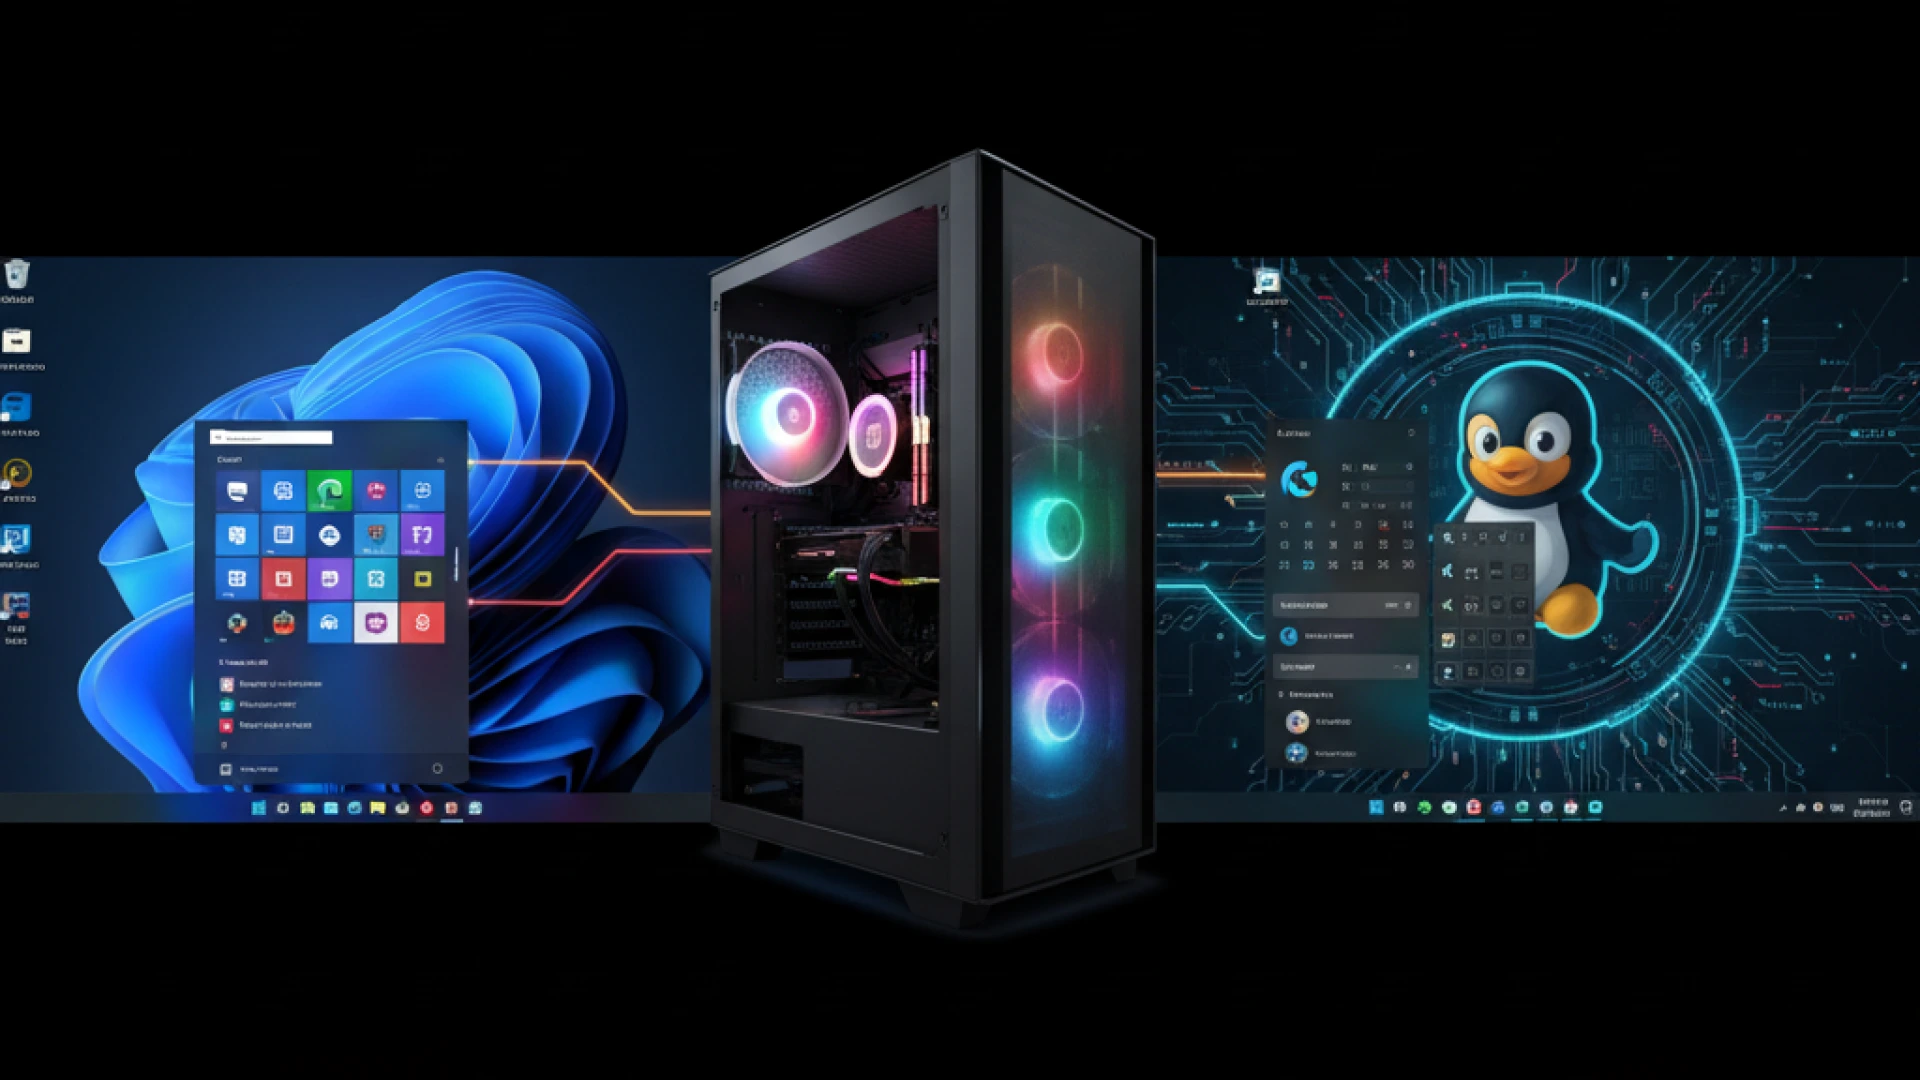
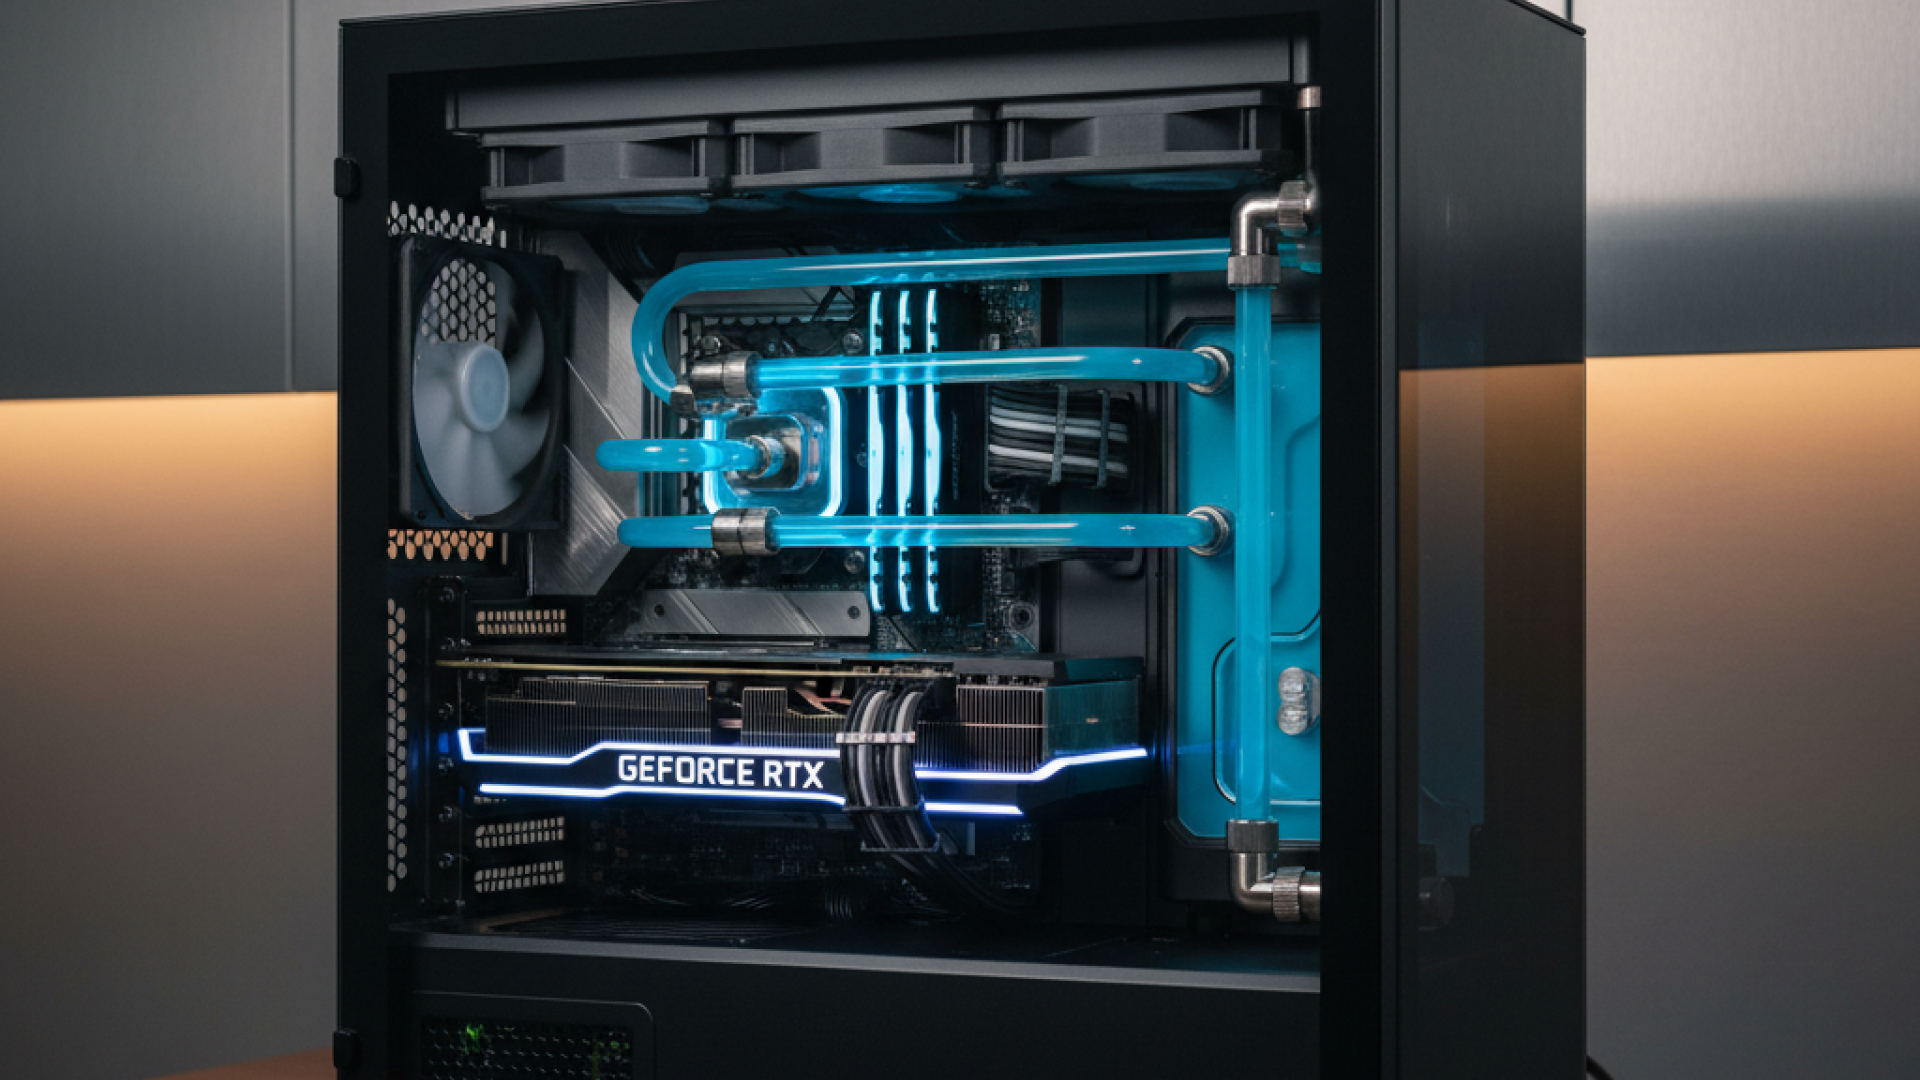
You’ve successfully built a PC. You can install RAM, mount an M.2 drive, and cable a power supply with confidence. But if you are ready to engineer a system for peak performance rather than simply assemble components, you have come to the right place. Welcome to the realm of advanced PC building, where meticulous custom PC optimization separates enthusiasts from true system architects.
Before You Begin: A Research-Based Foundation
The advanced PC building techniques discussed here are synthesized from trusted industry sources. These include in-depth technical reviews from established outlets (like Gamers Nexus, Igor’s Lab, and Hardware Unboxed), manufacturer whitepapers, and peer-reviewed principles of thermal and electrical engineering. However, individual results will vary based on your specific hardware configuration and ambient environment. We strongly advocate for cross-referencing any guidance with official manufacturer documentation and credible, community-verified data from platforms like specialized subreddits or forums throughout your custom PC optimization process..
Prerequisites Checklist
Before embarking on advanced PC building, confirm you possess:
- Proficiency in basic PC assembly and component installation.
- Practical experience with BIOS/UEFI navigation and firmware-level adjustments.
- A solid understanding of thermal concepts, including heat transfer and airflow dynamics.
- A willingness to research meticulously and test all changes incrementally and systematically.
What Lies Ahead
This guide will explore five pillars of custom PC optimization: precision component selection for synergy, advanced custom cooling solutions, in-depth BIOS fine-tuning, expert cable management for optimal airflow, and rigorous system monitoring for long-term stability.
Important: Success in advanced optimization demands patience and rigorous documentation. Meticulously record every change BIOS settings, thermal results, and benchmark scores. This log is invaluable for troubleshooting and validating stability.
Ready to transform your PC into a precisely engineered machine? Let’s begin with component selection.
Strategic Component Selection for Advanced Builds
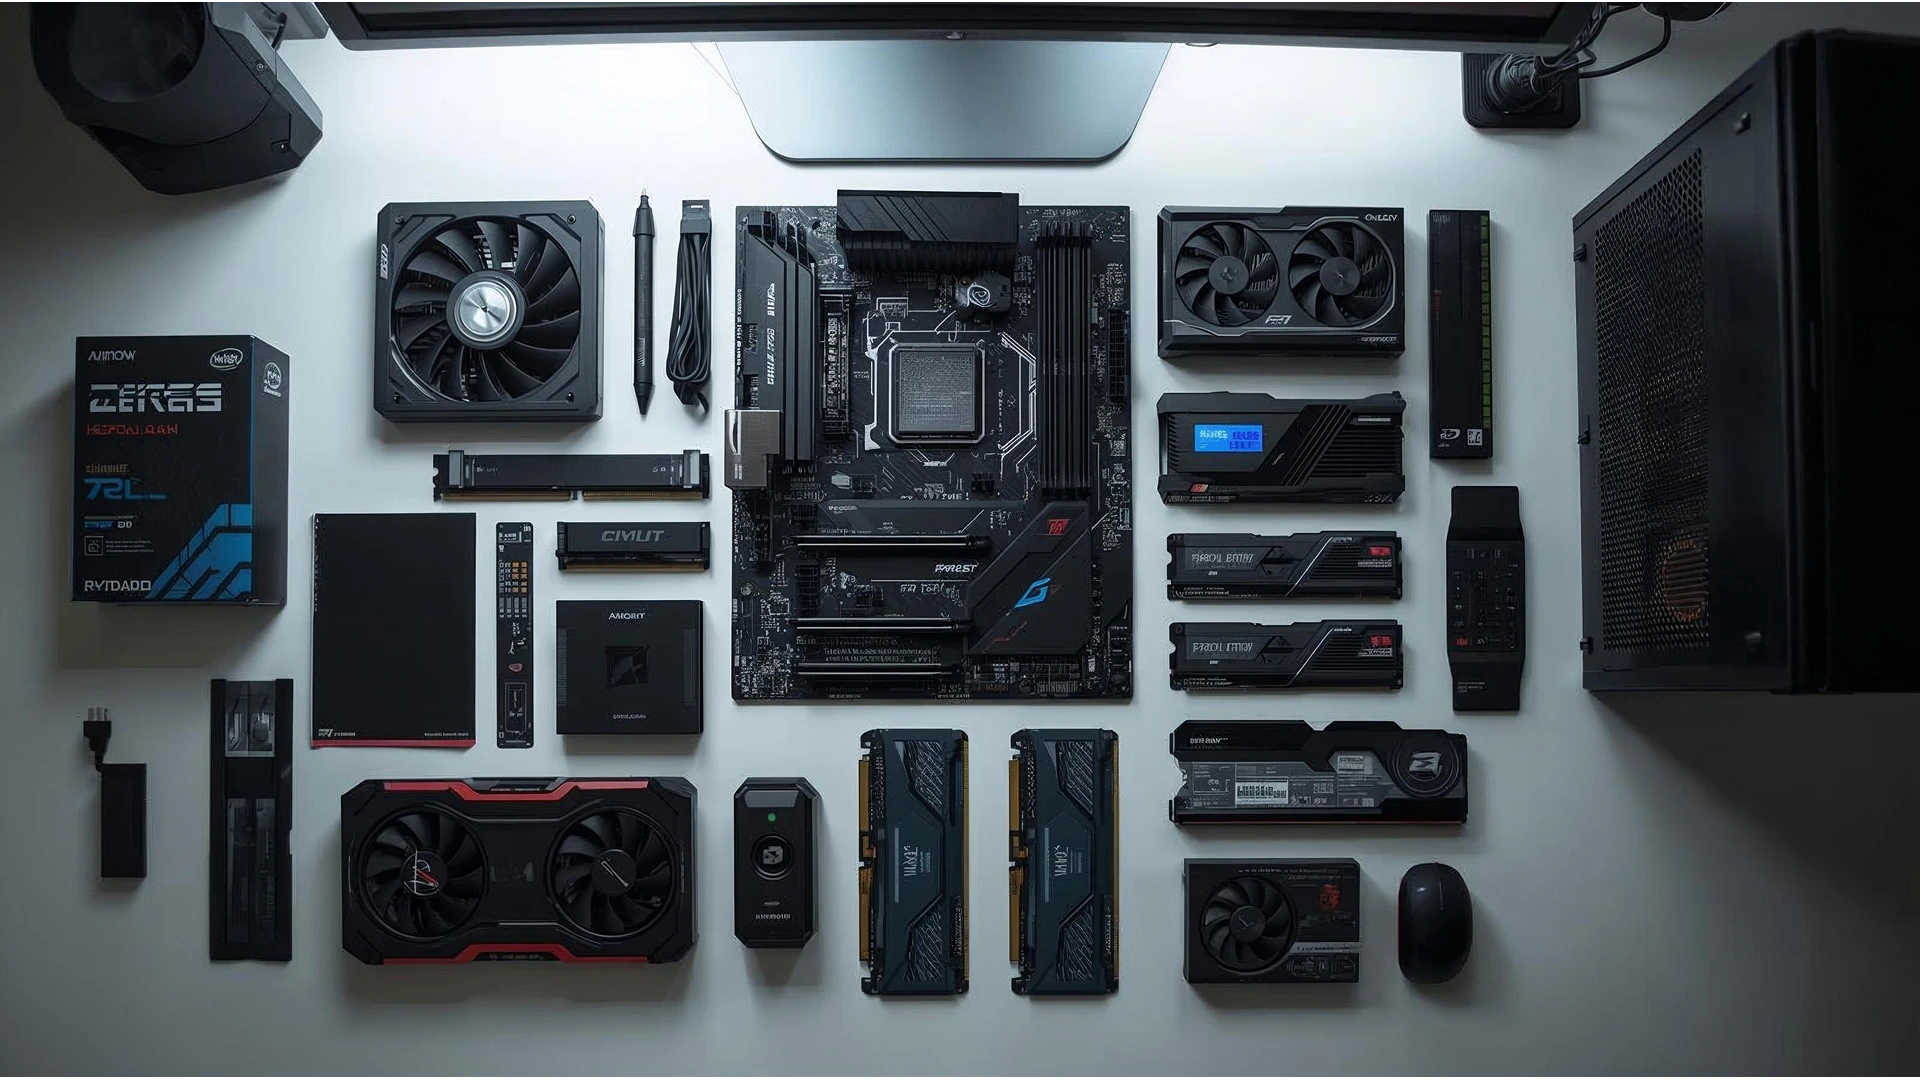
Component selection for overclocking demands a systems-level perspective. Every element from the motherboard to the power supply to the cooling solution must work in concert to deliver stable, peak performance. Rushed decisions create cascading problems: inadequate power delivery causes instability, insufficient cooling leads to thermal throttling, and mismatched hardware introduces compatibility nightmares. Strategic component selection for overclocking prevents these pitfalls before they emerge.
Choosing a Motherboard for Overclocking
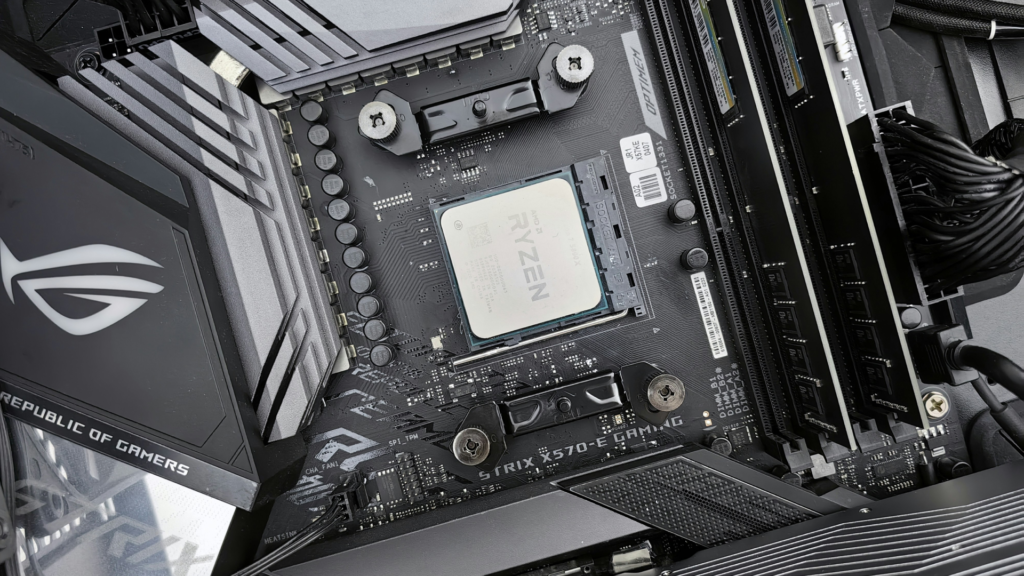
Your motherboard is the foundation for advanced tuning, making the Voltage Regulator Module (VRM) quality the critical first consideration. A VRM’s job is to convert power from your PSU into a clean, stable voltage your CPU can use. Think of power phases as teams sharing the workload; more phases generally mean less heat, better stability, and cleaner power delivery essential for pushing CPUs beyond stock settings. While budget boards with 8-12 phases are adequate for stock operation, aggressive tuning of power-hungry high-end PC components demands robust motherboards with 18+ phases for consistent voltage and thermal stability.
For 2025 platforms, informed motherboard selection is key. AMD users should prioritize B650E and the new X870E chipsets, which offer robust power delivery and PCIe 5.0 support. The ASRock X870E Taichi is a standout example, noted for its strong value and robust power design. Intel builders should focus on Z790 and the newer Z890 platforms. For those seeking feature-rich performance without a flagship price, the ASRock Z790 Steel Legend is a top-tier choice, offering powerful VRMs that can handle flagship CPUs at stock speeds or when overclocked.
These recommended platforms provide the advanced BIOS features essential for fine-tuning: per-core frequency adjustment, Load-Line Calibration (LLC) curves, real-time voltage monitoring, and detailed thermal management profiles. These tools transform a motherboard from a simple component host into a precision-tuning instrument.
Power Supply Considerations
Overclocking significantly increases system power draw, necessitating generous headroom. A good rule of thumb is the 1.5x multiplier: calculate your system’s estimated peak power consumption and multiply it by 1.5 to determine your minimum PSU capacity. For instance, a system drawing 550W under full load requires at least an 825W power supply. This headroom ensures stable voltage during power spikes and prevents the PSU from operating at its inefficient thermal limit.
Prioritize power supplies with 80 Plus Gold or Platinum efficiency ratings, as they guarantee less energy waste (as heat) and more stable power delivery. Fully modular designs are highly recommended for advanced PC builds, as they vastly improve airflow through optimized cable routing and simplify maintenance and upgrades.
Cooling Compatibility Planning
The most powerful components will throttle without a proper cooling strategy. Successful integration requires meticulous planning. Before purchasing, create a clearance checklist:
- CPU Cooler Height: Verify the cooler’s height is within your case’s specified limit.
- Graphics Card Length: Ensure the GPU fits, especially if you plan to front-mount a radiator.
- Radiator Space: Check for compatibility with your desired radiator size (e.g., 240mm, 360mm) in both the top and front positions.
When selecting coolers, prioritize those with standardized mounts for sockets like LGA1700 and AM5. This future-proofs your investment, allowing for cooler upgrades without needing to replace the entire motherboard.
Key Takeaway: Integrated system selection prevents thermal throttling and stability issues before they manifest, creating the foundation for truly advanced optimization.
Mastering Thermal Performance: Beyond the Stock Cooler
Thermal management is the critical, often unseen, determinant of success in an advanced PC build. While stock coolers meet baseline requirements, enthusiasts pursuing stable overclocking and sustained peak performance require sophisticated cooling solutions. Mastering this discipline separates builders who enjoy consistent, high performance from those who battle thermal throttling, instability, and unexpected shutdowns under load.
Advanced Air Cooling Strategy
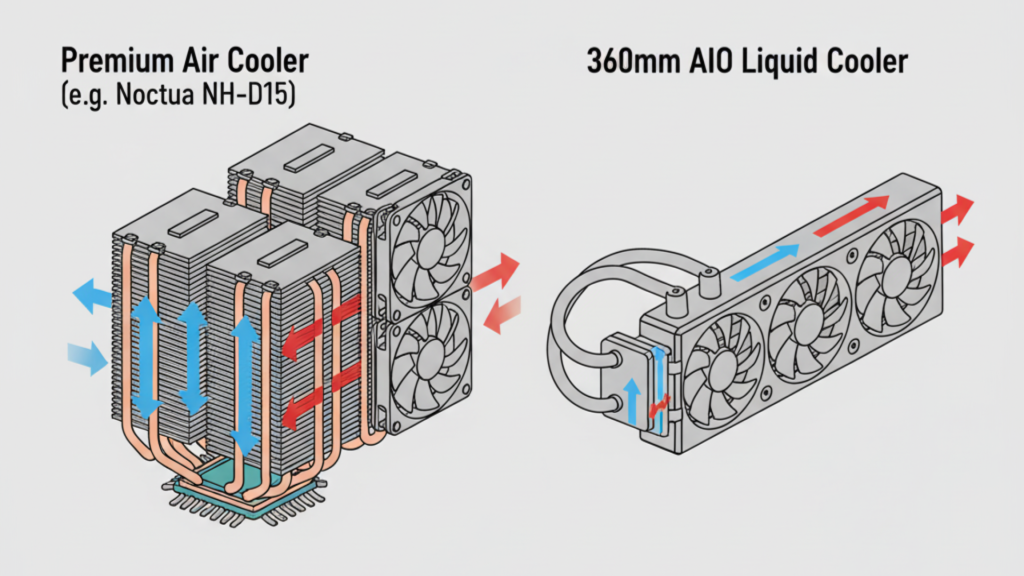
Premium air coolers remain a formidable choice, often delivering thermal performance within 2-5°C of many 240mm AIO liquid coolers but with less complexity, lower cost, and no risk of leakage. High-end models utilize multiple heat pipes and dense fin stacks to maximize surface area for dissipation. The core principle is simple: superior contact between the copper cold plate and the CPU’s IHS (Integrated Heat Spreader), combined with a large radiator, efficiently transfers heat into the air-stream.
Mounting technique is paramount. Ensure even pressure across the entire IHS to avoid gaps that create thermal resistance. For thermal paste, the “small dot” method is universally recommended: a pea-sized amount in the center allows mounting pressure to create a thin, complete layer. Over-application acts as an insulator, while under-application leaves dry spots that hotspot. Re-paste every 2-3 years to counter paste degradation and drying.
All-In-One Liquid Coolers – Pro Tips
AIO liquid coolers are popular for high-performance builds, but their efficacy hinges on radiator placement. A front-mounted radiator setup, as intake draws cooler external air across the radiator, resulting in lower CPU temperatures but slightly warmer air inside the case for other components. A top-mounted radiator as exhaust keeps the case air cooler for the GPU, but may lead to marginally higher CPU temperatures as it cools with pre-warmed case air. The optimal configuration depends on whether your workload is CPU or GPU-intensive.
Larger radiators (e.g., 360mm or 420mm) provide greater surface area, allowing them to dissipate the same amount of heat at lower fan speeds, which significantly reduces noise. For maintenance, expect to clean radiator fins of dust annually. While most AIOs are sealed, their practical lifespan is typically 5-7 years before pump failure or permeation becomes a concern.
Airflow Optimization & Case Selection
Effective PC airflow optimization is governed by pressure dynamics. Positive pressure (more intake fans than exhaust) pushes air out of unfiltered gaps, drastically reducing dust accumulation inside the case. This is generally preferred for most builds. A balanced configuration offers a good compromise for dust control and cooling.
A standard and effective fan configuration is front-to-back, bottom-to-top airflow: intakes at the front/bottom, exhausts at the rear/top. This leverages convection and provides a direct path for cool air over components. Modern cases in 2025 emphasize modularity and thermal performance, featuring mesh front panels for unrestricted intake, dedicated cable management channels, and built-in support for multiple radiator sizes.
Introduction to Custom Water Cooling
For the ultimate in thermal performance and aesthetics, custom PC water cooling is the pinnacle. A well-executed custom loop can achieve temperatures 10-15°C lower than the best AIOs, enabling higher overclocks and near-silent operation under load.
However, this performance comes with significant investment. A quality custom loop typically costs between $800 and $2,500 for components alone (blocks, pumps, radiators, fittings, and coolant). The time investment is also substantial, requiring dozens of hours for planning, assembly, and ongoing maintenance.
Critical Disclaimer: Custom water cooling carries inherent risks, including the potential for leaks that can cause catastrophic damage to all system components. It should only be attempted by those willing to thoroughly research, plan, and accept this responsibility. A recommended learning path is to master AIOs first, then study custom loop guides extensively, and potentially start with a small, external test loop.
Key Takeaway: True thermal mastery requires a system-wide approach. The synergy of your cooler choice, radiator placement, PC airflow optimization strategy, and diligent maintenance directly dictates overall system efficiency, stability, and component longevity.
The Art of Expert Cable Management
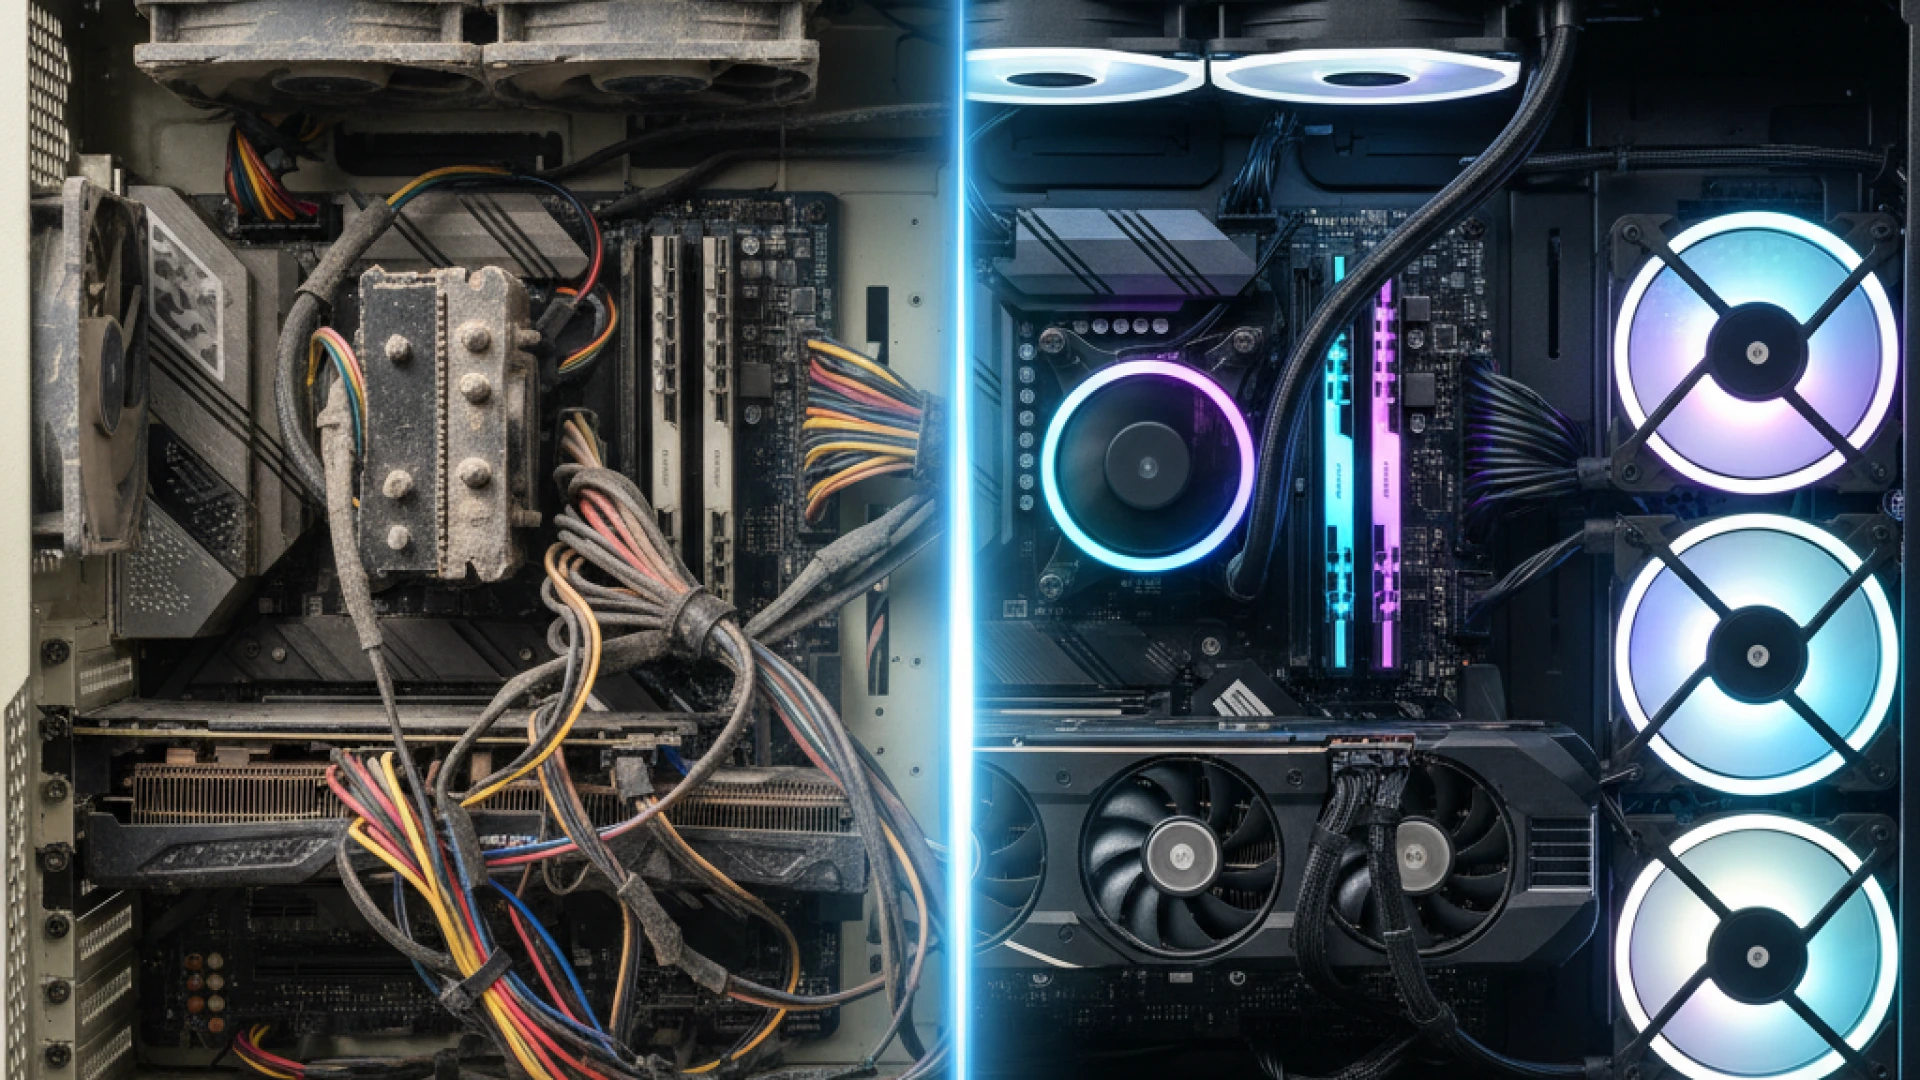
Expert cable management is far more than an aesthetic pursuit; it is a critical performance multiplier. A clean PC build enables unrestricted airflow, simplifies future upgrades, reduces troubleshooting complexity, and ensures long-term system efficiency. For the advanced builder, the routing decisions made during assembly have lasting consequences. Chaotic cable runs trap heat, create airflow obstructions, and turn routine maintenance into a frustrating ordeal.
Strategic Cable Planning
Success begins before any components are installed. Develop a pre-assembly routing plan by identifying the built-in features of your case, including cable grommets, pass-throughs, dedicated channels, and tie-down points. Consult your case manual, as manufacturers design these features specifically to guide expert cable management.
Simultaneously, plan for accessibility. Route cables with future upgrades in mind. Ensure RAM slots and storage bays remain easily accessible, and cluster interconnected cables to allow for modular removal. A simple but effective practice is to label both ends of key cables; this small step can save hours of diagnostics during future upgrades or troubleshooting.
Custom Cable Solutions
For enthusiasts seeking a pristine look, sleeved cable extensions are the most popular solution. They attach to your PSU’s existing cables, allowing for enhanced aesthetics and easier routing without voiding your power supply’s warranty. A quality set typically costs between $30 and $80.
Critical Compatibility Warning: Always verify that the pinout of any extension or replacement cable matches the specific pinout of your power supply model. Using incompatible cables can cause permanent hardware damage. While full replacement custom cables offer a seamless look, they are more expensive and require meticulous research to ensure perfect compatibility with your PSU.
RGB Integration Challenges
Integrating RGB lighting introduces a significant cable volume that can impede airflow if not managed carefully. The challenge involves routing not just power cables, but also RGB header cables, controller hubs, and their associated data and power lines.
To mitigate this, consolidate your ecosystem where possible. Using a unified software platform (like iCUE or Aura Sync) can reduce the number of required controllers. Plan your RGB layout during the initial cable routing phase to avoid creating thermal dead zones around critical components like the GPU or CPU cooler.
Performance Impact Analysis
The performance impact of poor cable management is measurable. Obstructed airflow forces fans to work harder, increasing noise and reducing cooling efficiency. This can lead to temperature increases of 5-10°C around key components, elevating the risk of thermal throttling during sustained loads and directly limiting performance.
The maintenance benefits, however, are a major advantage. Organized cables enable rapid component swaps and make diagnostics significantly faster. Furthermore, a clean PC build fosters better community engagement, as a well-managed system demonstrates professionalism and makes it easier for others to provide accurate technical support.
Key Takeaway: Treat expert cable management not as a final cosmetic touch, but as a foundational performance investment. It directly impacts thermals, future upgradeability, and system longevity, solidifying the foundation of a truly advanced build.
Read more on the Common PC Building Mistakes to Avoid in 2025
Pushing the Limits: Advanced Overclocking Guide
Advanced overclocking guide principles represent the final tier of PC optimization, building upon a foundation of quality components and superior cooling. This discipline requires a deep respect for physical limits and a methodical approach. This advanced overclocking guide is designed to help you navigate the fine line between extracting maximum performance and ensuring the long-term health of your hardware, emphasizing that scientific methodology always trumps random adjustments.
Understanding Physical Limitations
The “silicon lottery” is a fundamental reality; no two chips are identical, meaning your CPU’s maximum stable frequency is unique. More critically, physics imposes hard limits. Sustained high voltage accelerates electron migration, physically degrading the silicon over time, while excessive heat acts as a catalyst for this damage. Operating a CPU consistently above 90°C or pushing voltage beyond recommended limits (typically 1.35V-1.4V for modern CPUs, but always check your specific model) will measurably shorten its lifespan. A sustainable overclock balances ambition with these long-term reliability considerations.
CPU Overclocking Methodology
Successful CPU overclocking follows a strict, sequential process. Begin with a modest frequency increase (e.g., +100 MHz). Test for stability using a tool like Prime95 or OCCT for at least 30 minutes. Only if the system is stable should you proceed to the next small increment. If instability occurs (crashes or errors), you may need a slight voltage increase, which should be done in minimal steps of 0.01-0.02V. Use monitoring software like HWiNFO64 to track temperatures and voltages in real-time. The core tenet is to change only one variable at a time to clearly understand what causes instability.
GPU Overclocking Precision
GPU tuning is a three-dimensional process involving the core clock, memory clock, and power limit. Use a tool like MSI Afterburner. First, maximize the power and temperature limit sliders. Then, increase the core clock in +15 MHz increments, testing stability with a benchmark like 3DMark’s Time Spy after each step. Once the core is stable, follow the same process with the memory clock. Finally, conduct a long gaming session to validate stability under real-world, fluctuating loads, watching for visual artifacts or crashes.
Advanced Undervolting Techniques
Undervolting is the practice of lowering a component’s operating voltage to reduce heat and power consumption without sacrificing performance. It is a cornerstone of efficiency optimization. The methodology is the inverse of overclocking: you lower the voltage in small increments (-0.025V) while stress testing to ensure stability. Modern CPU and GPU architectures, particularly from AMD Ryzen and NVIDIA’s RTX series, often have conservative stock voltages, presenting significant undervolting headroom for cooler, quieter operation.
Critical Overclocking Disclaimer & Safety Protocol
Explicit Warning: Overclocking and undervolting void manufacturer warranties and inherently risk hardware damage. Exceeding safe voltages or temperatures can permanently destroy your CPU, GPU, or motherboard. You assume all responsibility for any damage that occurs.
Safety Protocol:
- Document Everything: Keep a detailed log of every setting change, voltage, frequency, and resulting temperature/performance.
- Know Your Limits: Research the recommended maximum voltages and temperatures for your specific components. Do not exceed them.
- Stop at Instability: If you encounter crashes or errors, you have reached a hardware limit. Do not attempt to force stability with dangerously high voltage.
Key Takeaway: Sustainable performance gains are achieved through a scientific, patient, and documented process. This methodology is what separates a true advanced overclocking guide from reckless experimentation.
Tackling Specialized Builds
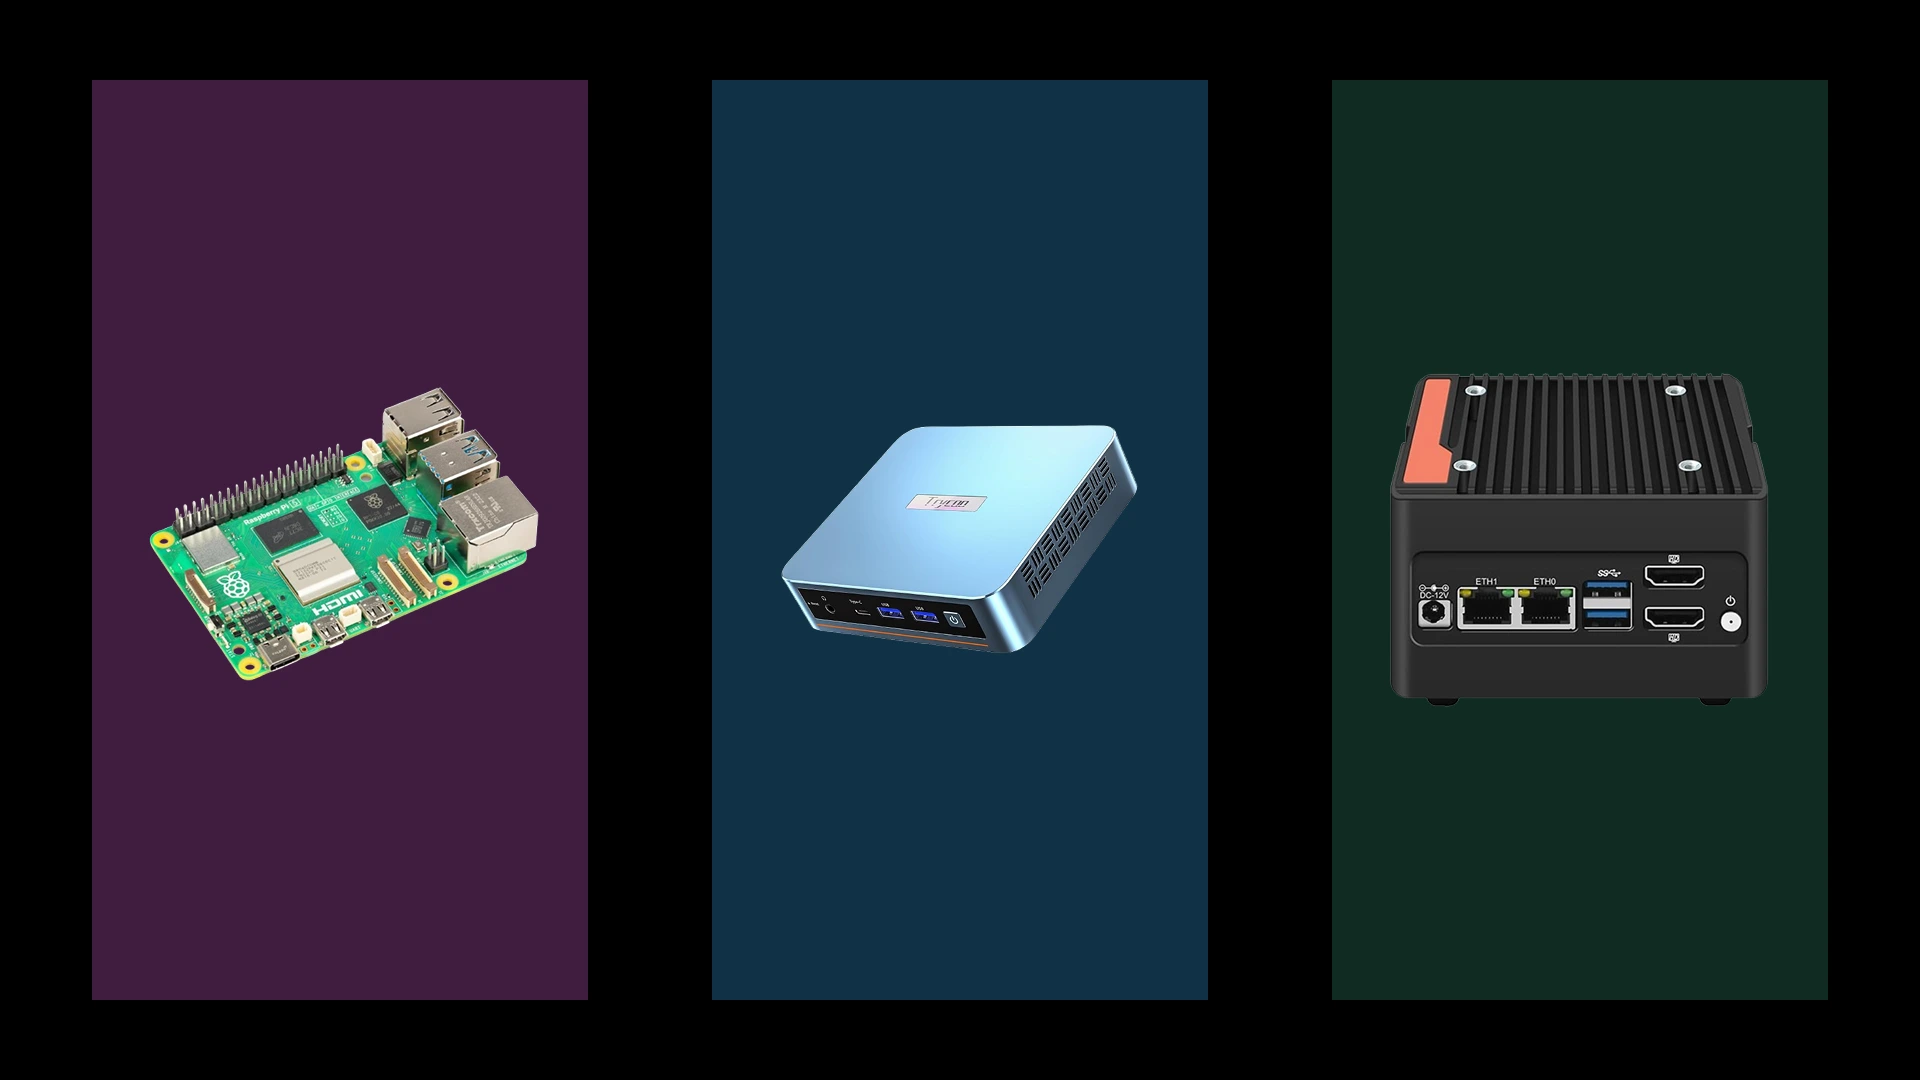
Advanced PC building mastery is truly tested when moving beyond standard ATX towers. Specialized builds require a unique expertise focused on constraints, whether spatial, acoustic, or thermal. Executing a successful mini-ITX build guide plan differs fundamentally from assembling a standard PC, just as a quiet PC build prioritizes acoustic engineering over raw performance. Mastering these disciplines allows a builder to execute any vision, transforming limitations into a blueprint for innovation.
Small Form Factor Engineering
A SFF PC build compresses high-performance components into a case typically under 20 liters, creating intense thermal density. The first challenge is ruthless component selection. You must verify that every part fits specific dimensions; a GPU a few millimeters too long or a CPU cooler a centimeter too tall will render a build impossible. Unlike spacious towers, an SFF PC build often necessitates an All-In-One (AIO) liquid cooler, as it can more efficiently exhaust heat directly from the case rather than recirculating it inside a confined space.
Thermal management requires proactive planning. High-performance, low-profile air coolers and SFX or SFX-L power supplies are essential. Assembly methodology is critical: components should be test-fitted outside the case, and a clear installation sequence must be planned to avoid having to disassemble everything to plug in a single cable. Meticulous mini-ITX build guide principles emphasize planning every cable route in advance to ensure both optimal airflow and future accessibility for upgrades or maintenance.
Silent PC Philosophy & Execution
The goal of a quiet PC build is to minimize audible noise, which often involves accepting slightly higher operating temperatures. The process begins with identifying and mitigating the primary noise sources: fan motors, bearing hum, and airflow turbulence.
Component selection is the first line of defense. Choose cases with sound-dampening foam, massive heatsinks that allow for low-RPM fan operation (from brands like Noctua or be quiet!), and power supplies with a semi-passive or “zero-RPM” mode. For the ultimate in silence, consider fanless GPU models or a fully passive CPU cooler, though these have significant performance limits.
Fan curve optimization is where the philosophy is executed. Instead of setting aggressive curves that spin fans up rapidly, create gentle slopes that prioritize quiet operation. Aim to keep fans at a near-inaudible level (e.g., 20-30% speed) during everyday tasks, only allowing them to ramp up significantly when CPU or GPU temperatures cross a high threshold (e.g., 75-80°C). This trade-off results in a much quieter system during most use.
Technique Integration
The advanced techniques from previous sections find their ultimate application here. Undervolting is a cornerstone of both SFF and silent builds, as it reduces heat output, allowing for lower fan speeds and less thermal saturation in a small case. Custom cable solutions are not just for aesthetics in an SFF build; they are a necessity for creating the clean pathways needed for any semblance of airflow.
The key is to embrace these constraints as design opportunities. The limitation of a small case forces innovation in layout and part selection. The goal of a silent build encourages a deep understanding of thermodynamics and component efficiency. These are not compromises but rather creative challenges that define the build’s unique character.
Key Takeaway: Specialized builds excel when they are optimized within their specific parameters. Mastering the management of thermal density in a SFF PC build, the acoustic priority of a quiet PC build, and the spatial precision of a mini-ITX build guide transforms potential limitations into a system’s greatest strengths.
Check out our post on Building a PC for Video Editing and Streaming
Conclusion: The Journey to a Master Builder
Advanced PC building is the art of synergistic integration, where strategic component selection, thermal mastery, and meticulous execution converge to create a system greater than the sum of its parts. You have moved beyond simple assembly into the realm of engineering, understanding that each technique, from advanced PC building fundamentals like cable management to the precision of overclocking, interconnects to define the final performance, stability, and elegance of your build.
This journey is one of continuous learning and meticulous documentation. Your build logs, temperature charts, and benchmark results are more than personal records; they are the foundation of expertise and the most valuable contribution you can make to the community. We encourage you to engage strongly with fellow enthusiasts on forums and subreddits. Share your successes and challenges, for this reciprocal exchange of knowledge is what propels the entire craft forward.
The path of a custom PC builder is ever-evolving. In future guides, we will delve into emerging frontiers like AI-optimized tuning and cutting-edge cooling technologies, building upon the mastery you have cultivated here.
You now possess the comprehensive knowledge to approach any build with confidence and skill. You are not just a builder; you are an architect of performance. Continue to learn, document meticulously, and push the boundaries of what is possible. Build with purpose.
